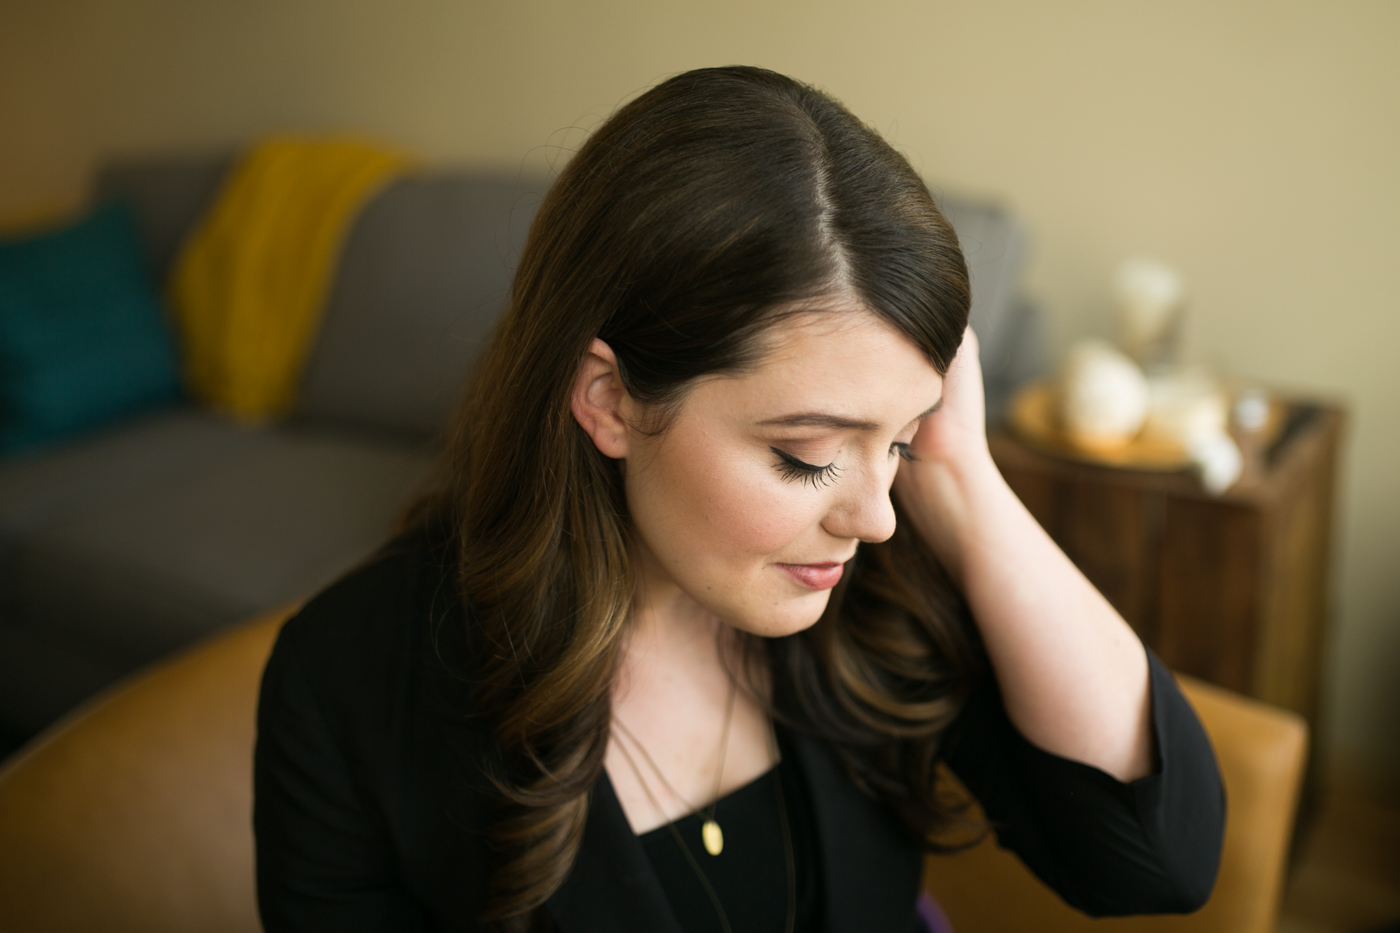
Happy Friday!! I’m SO excited for today’s post and to relaunch my KLP FAVORITE FINDS, and kickoff a new subseries on Make Up! I am by no means a make up artist, and I love hearing and learning from the best, but It all started when I realized I wanted to learn how to contour. Some of you may be thinking of the really dramatic lines that almost look like dirt at times, but I wanted to learn how to contour in a more natural every day sort of look. I have been wanting to start sharing more resources/tutorials on my blog, so this seemed like the perfect opportunity of a place to start! I then met the FABULOUS make up artist Angela when we worked on a styled shoot together! She is so kind-hearted and you know when you just click with someone from the get go? Yeah… that was us! She is so easy to work with and is so talented! So we started chatting and I shared that I wanted to learn about contour, so we decided to share these tips and tricks! So here we are! I’m excited to have Angela here as my FIRST EVER Guest Blogger! I hope this is helpful, and please leave comments and questions and we’ll do our best to answer them! Now read below and get dolled up for your friday night out and post a photo of how it turned out! Take it away Angela!
MAKE UP TUTORIAL 01 : Natural Contouring
This step by step tutorial will teach you how to naturally highlight & contour your face in a way that is wearable any day of the week, with any look. Follow along as I teach Kelly how to highlight her cheekbones and slim her face, while still looking beautiful and soft.
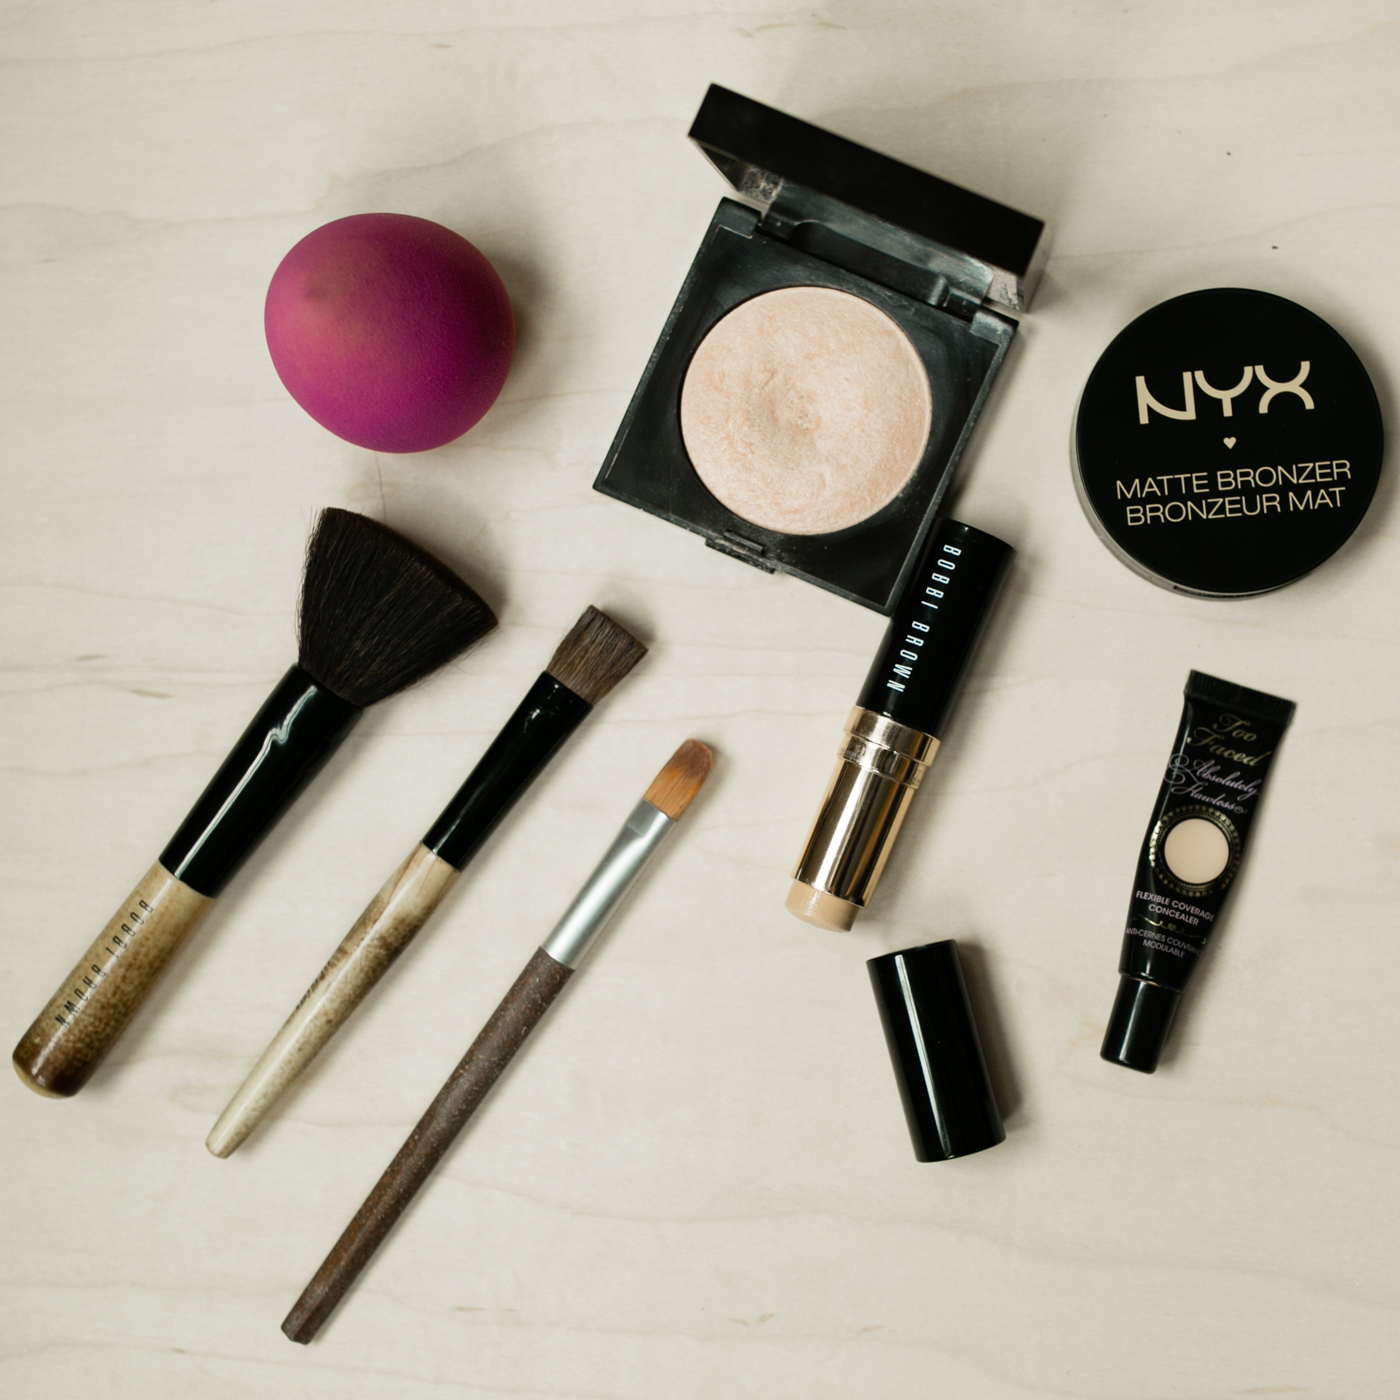
All you will need is a matter bronzer, natural blush, powder highlight, foundation, concealer, and a few makeup brushes. Here is what I used on Kelly:
List of Products:
– Bobbi Brown Foundation Stick in #1 Warm Ivory
– Too Face Absolutely Flawless Concealer in Vanilla
– NYX Bronzer in Medium
– MAC Powder Blush in BlushBaby
– Laura Mercier ‘Matte Radiance’ Baked Powder in Highlight 01
The brushes/tools you will need:
Beauty blender
Concealer Brush (optional)
Blush Brush
Highlight brush (Fan brushes work great for this!)
Bronzer or Contour brush (whichever fits your face better)
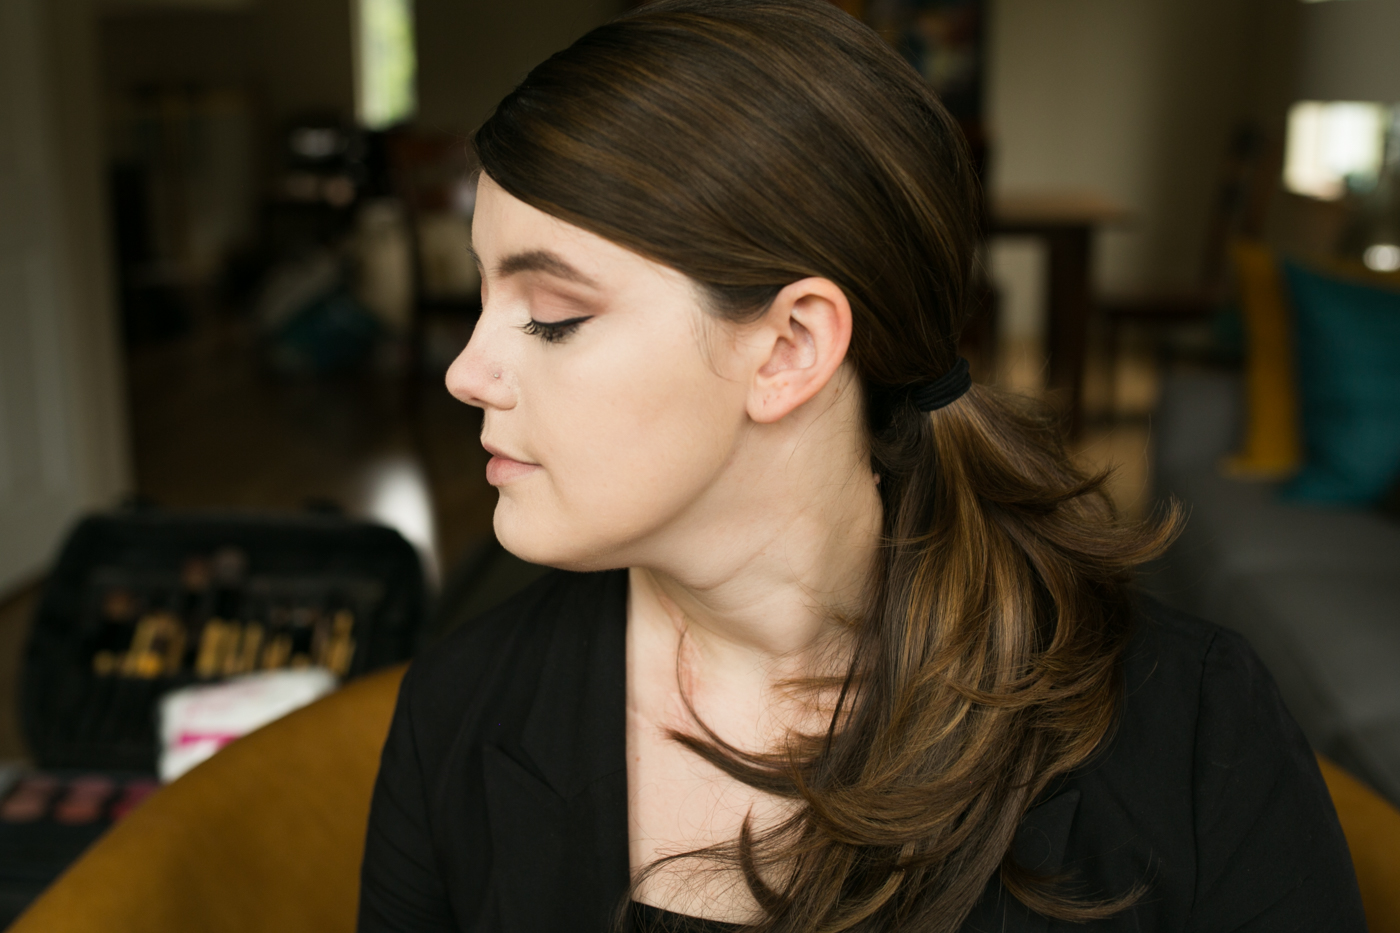
Before you begin, be sure to start with a moisturized and primed pretty Kelly Lemon :) (I love Benefits Professional Primer!)
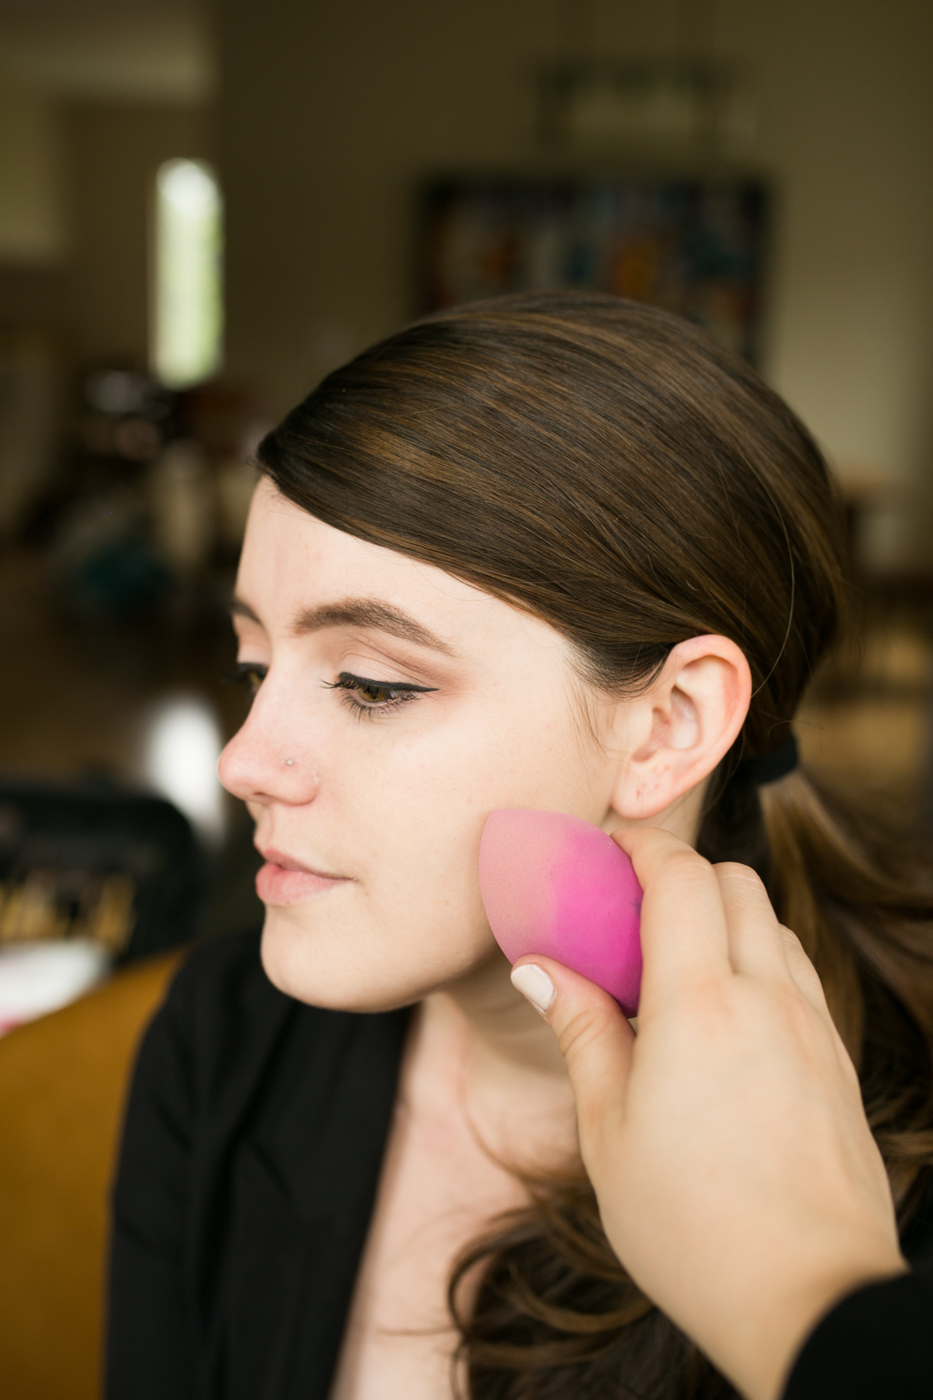
STEP ONE: Foundation
The first real step in this process is to get a nice even layer of foundation on your face. I love using a Beauty Blender with my foundation as it gives a truly flawless coverage, not to mention it is so darn easy to use!
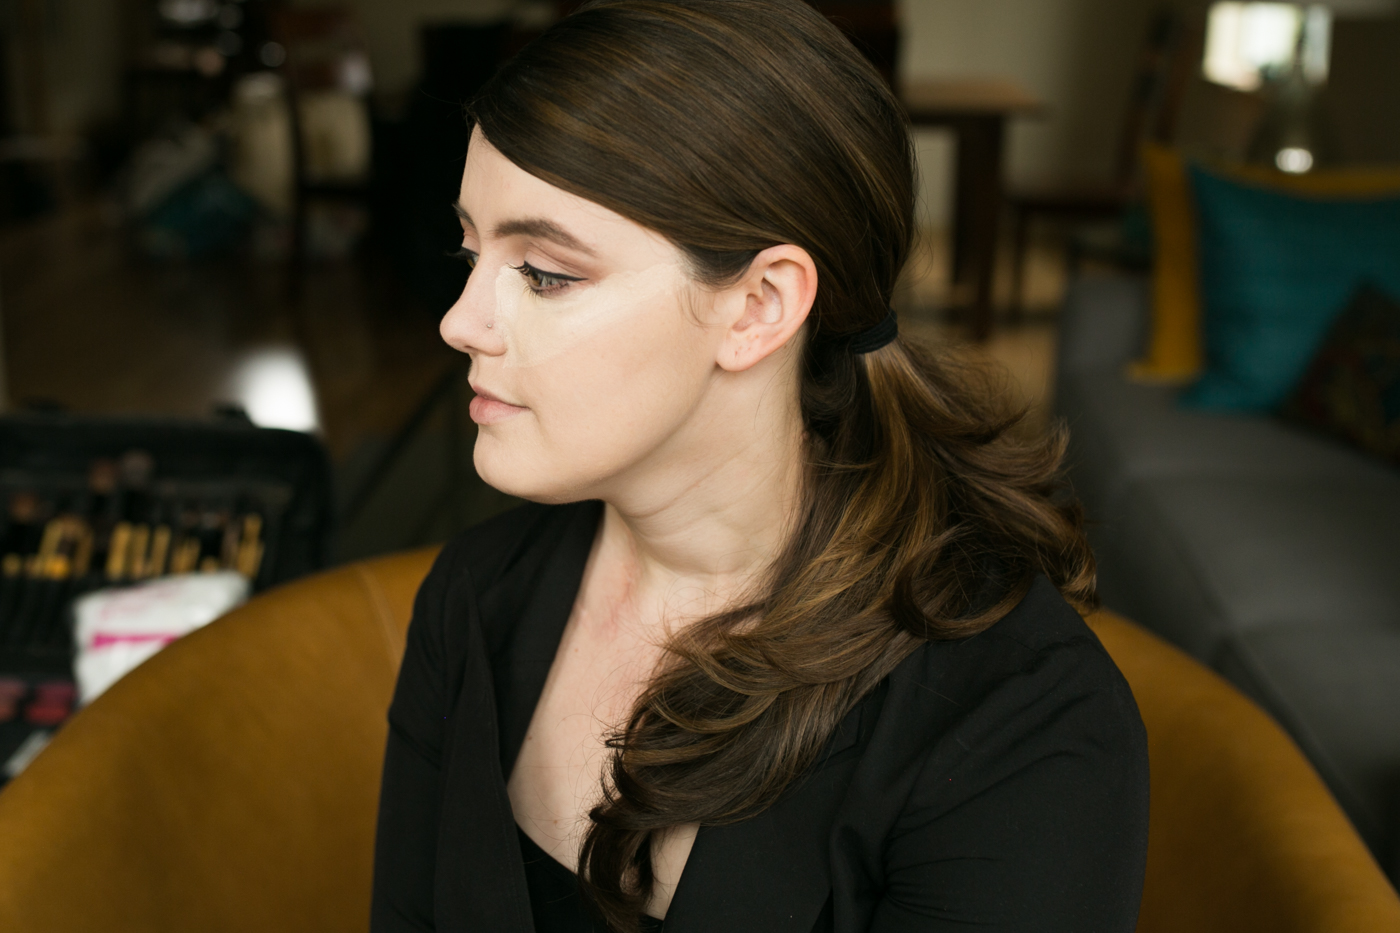
STEP TWO : Highlighting with Concealer
The next step in the process, and the first real highlighting step is to apply your concealer. The main thing I want to stress with this is how you apply your concealer. To really lift the face and brighten the under eye area, you want to choose a color that is approximately 1-2 shades lighter than your skin tone, and apply the concealer in a “check mark” shape starting at the sides of the nose and pulling all the way out to the hairline. Using your beauty blender with a light “pouncing” motion, push the product into the skin.
It should look like this when you are finished…
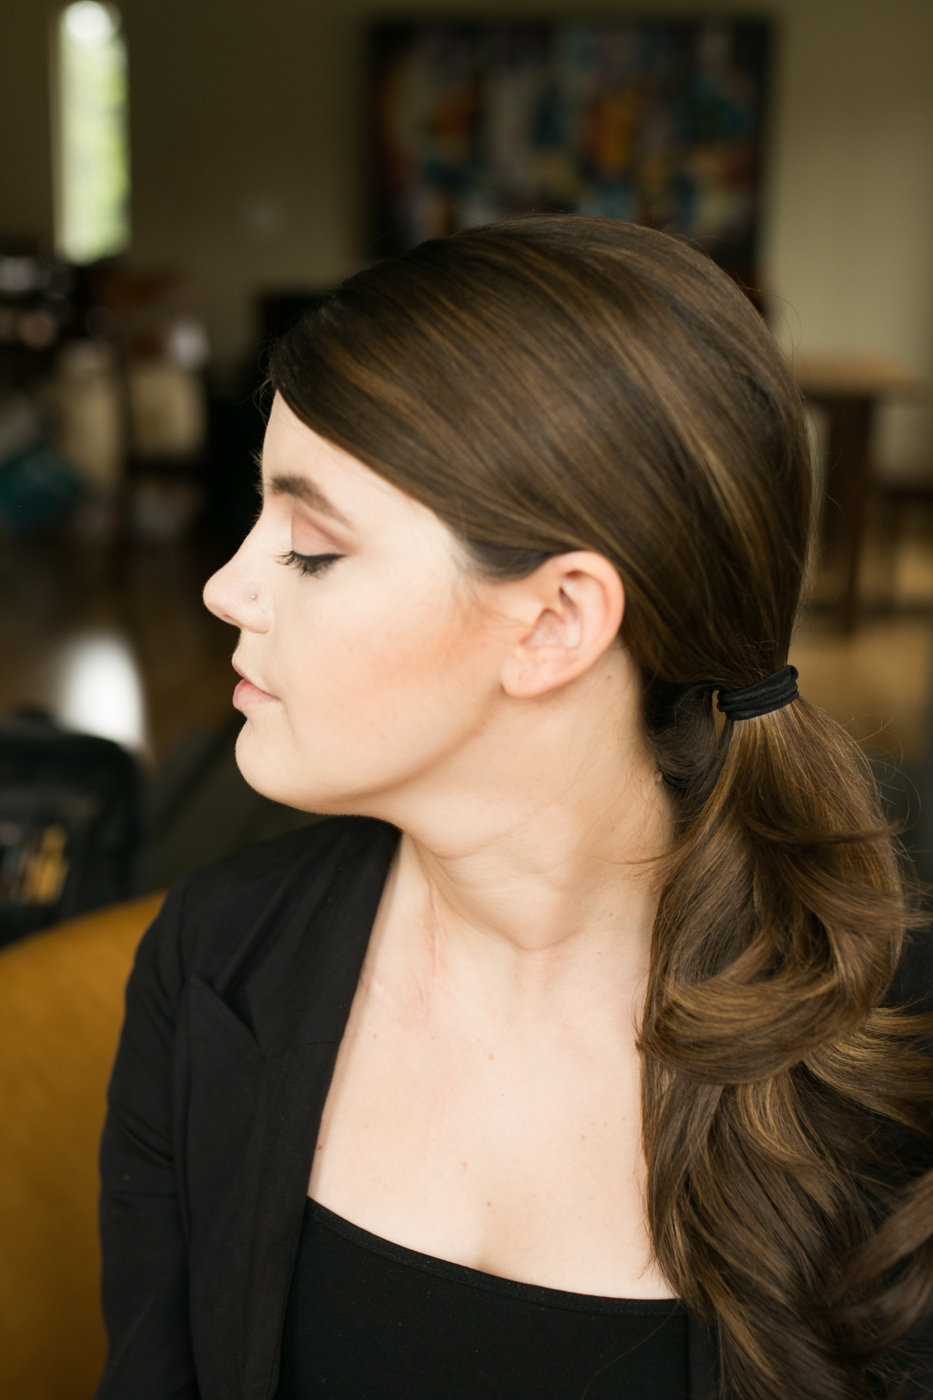
STEP THREE : Contour
Now things start to get a little fishy… see what I did there? :) In all seriousness, it truly does help to make this “crazy fish face” to find the natural line and area we need to contour.
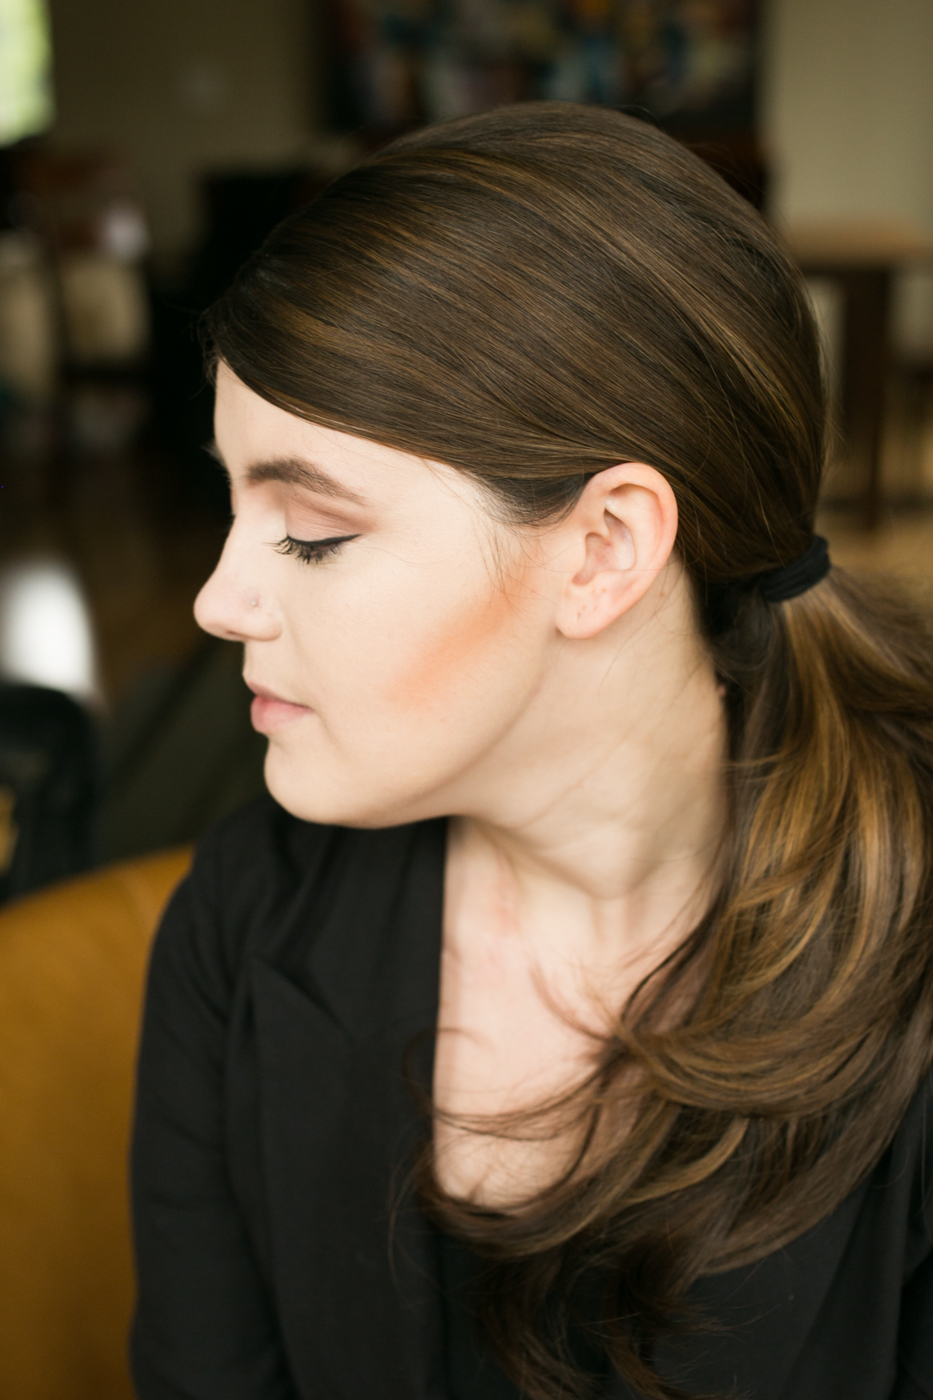
For this natural contour look, I used a matte bronzer (Bobbi Brown has a fantastic selection of matte bronzers, however, if you are ballin’ on a budget and still want a great matte bronzer, NYX is a great option!). With your bronzer or contour brush, draw a thick line under your cheek bone then with a small circular motion, blend clockwise until it goes from this…
to this…
STEP FOUR: Blush
Next, to really soften everything and avoid the “dirty face” look, we added a nice natural blush on the apples of the cheeks. Some people are not into blush, and while I do understand that, it’s really not a step you want to skip in any contoured look. You don’t have to go bright (even though that is super fun – stay tuned for my next guest blog on Spring Makeup!), but you do want some color.
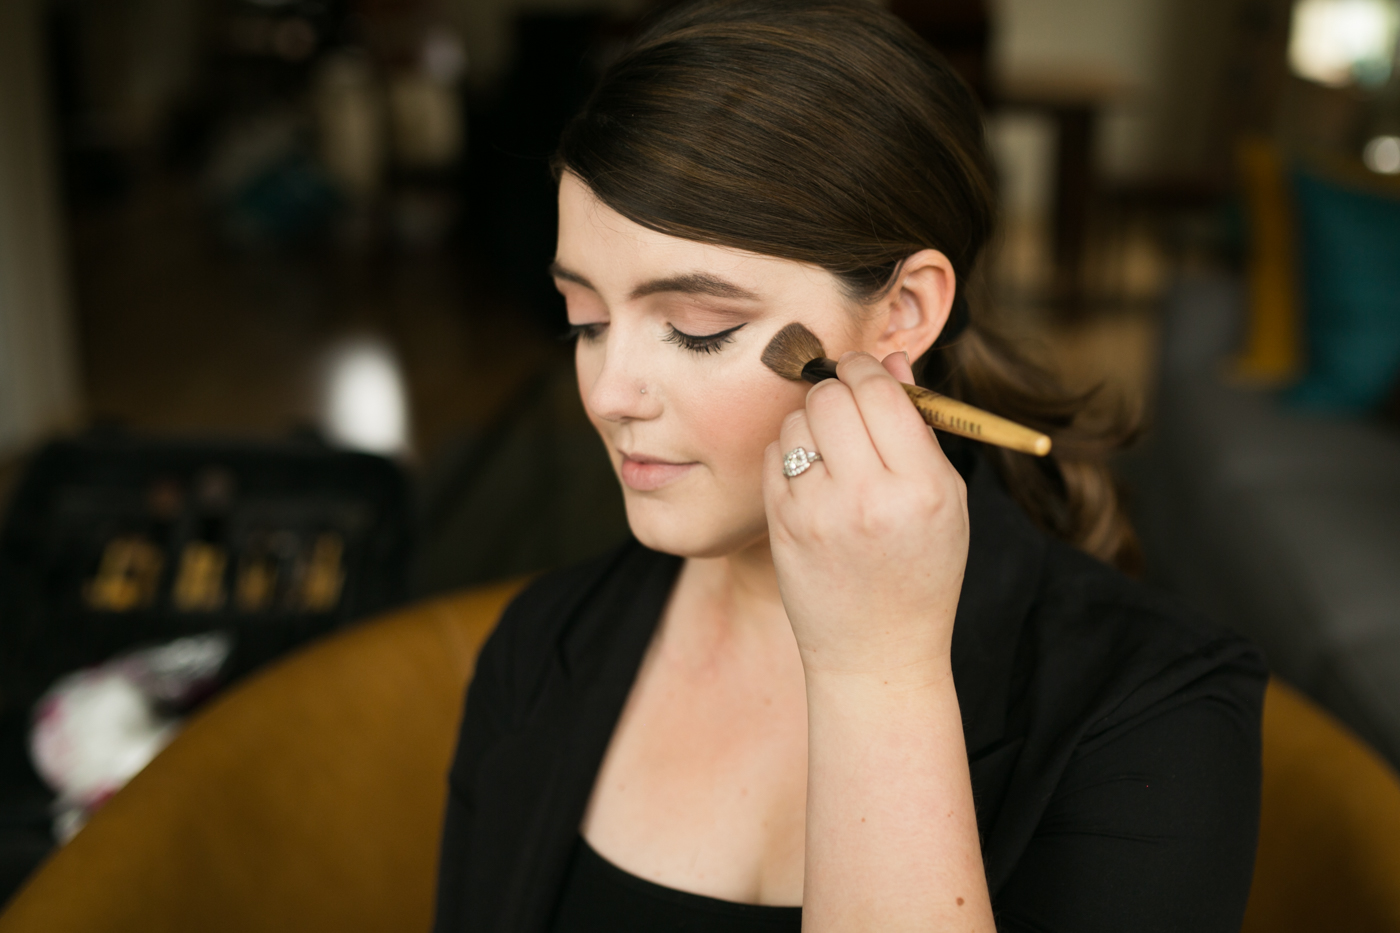
STEP FIVE : Highlight
Last, but most certainly not least, we highlight. The spots we hit are: the top of the cheekbone…
Under the brow bone…
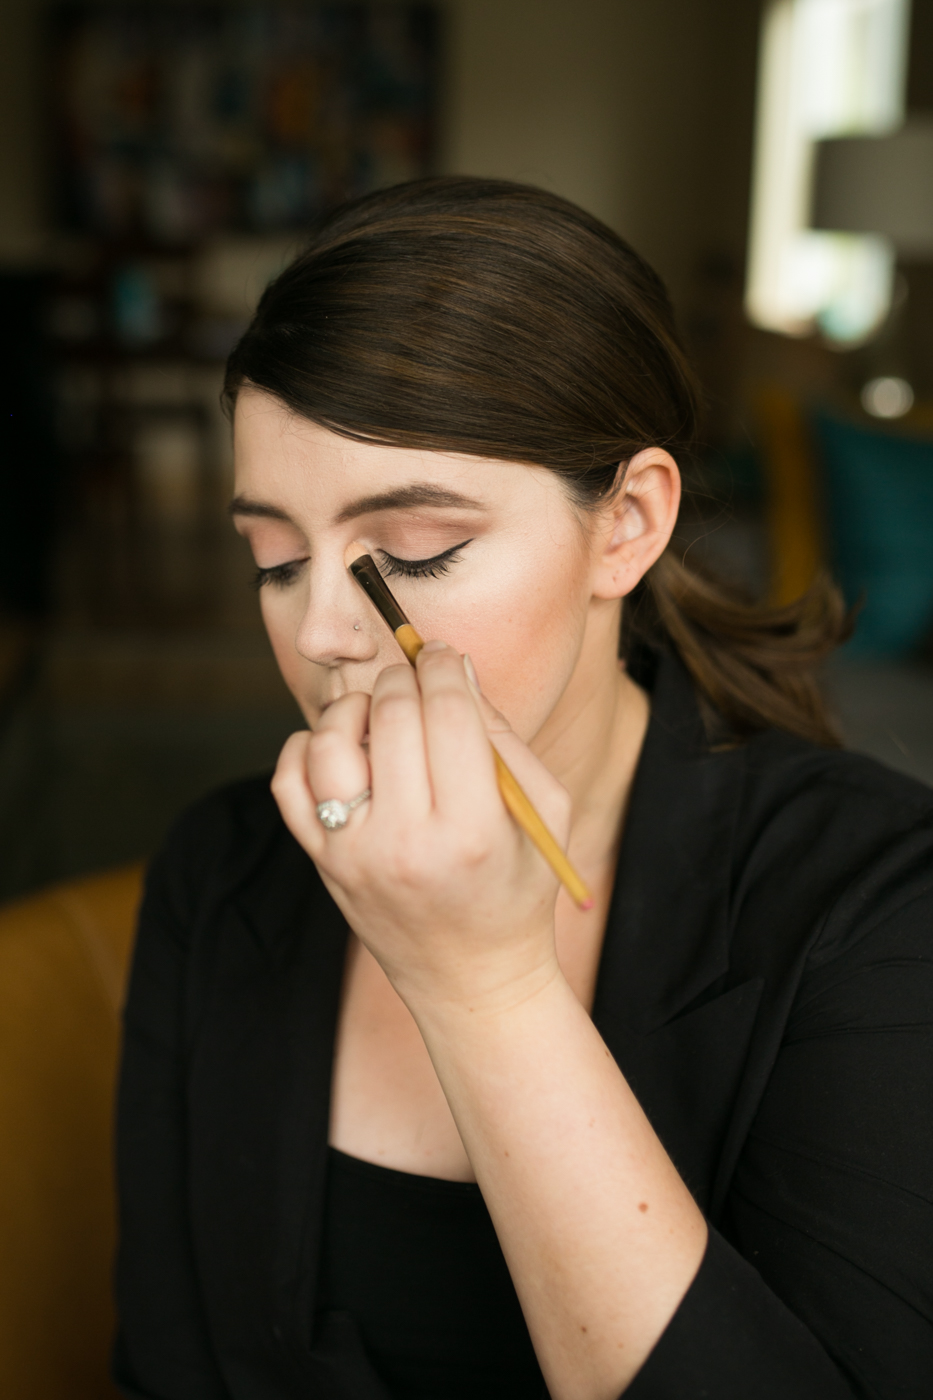
Inside corner of the eye/tear duct
And bridge of the nose (not pictured), and whatever residual powder you have left on your brush, hit the middle of your forehead and chin.
To get a FULL understanding of where EXACTLY to highlight on the cheekbone : check out this VIDEO!
Natural Contouring : Highlighting from Kelly Lemon on Vimeo.

There you have it, a simple, quick, natural way to highlight & contour your face!
I hope you enjoyed this tutorial and please feel free to leave comments and questions below. Angela is available for bookings. You can find her on the web at
www.MakeupArtistAngela.com, Instagram
@MakeupArtist.Angela or of course,
Facebook.com/MakeupArtistAngela.Happy contouring! xo


Ah, I see what I’ve been missing. Can’t wait to try this tomorrow!
Aren’t you the cutest thing, Kelly! This conturing tutorial is the bomb and you look gorgeous! Great shots. =)
Candace