 Happy Friday!! I truly LOVE everything about this season! Christmas music, cheesy christmas movies, decorating – I LOVE all of it! Ever since Agustin and I got married and had a home of our own, I began learning a lot about myself and one thing I have learned is that I truly love to host people in my home. I want people to feel “at home” in our home. Truly welcome. And I think my desire to create that feeling comes from my own home where I grew up. My family’s house was ALWAYS buzzing with people! Always :) My mom has such a generous heart and I have always wanted my home to feel the same way, BUT I have learned pretty quickly that I don’t have a lot of the tools or skills to make it as wonderful as I want it to be! Example: Host a thanksgiving party but have no idea how to cook a turkey! (Well the step by step is here!)
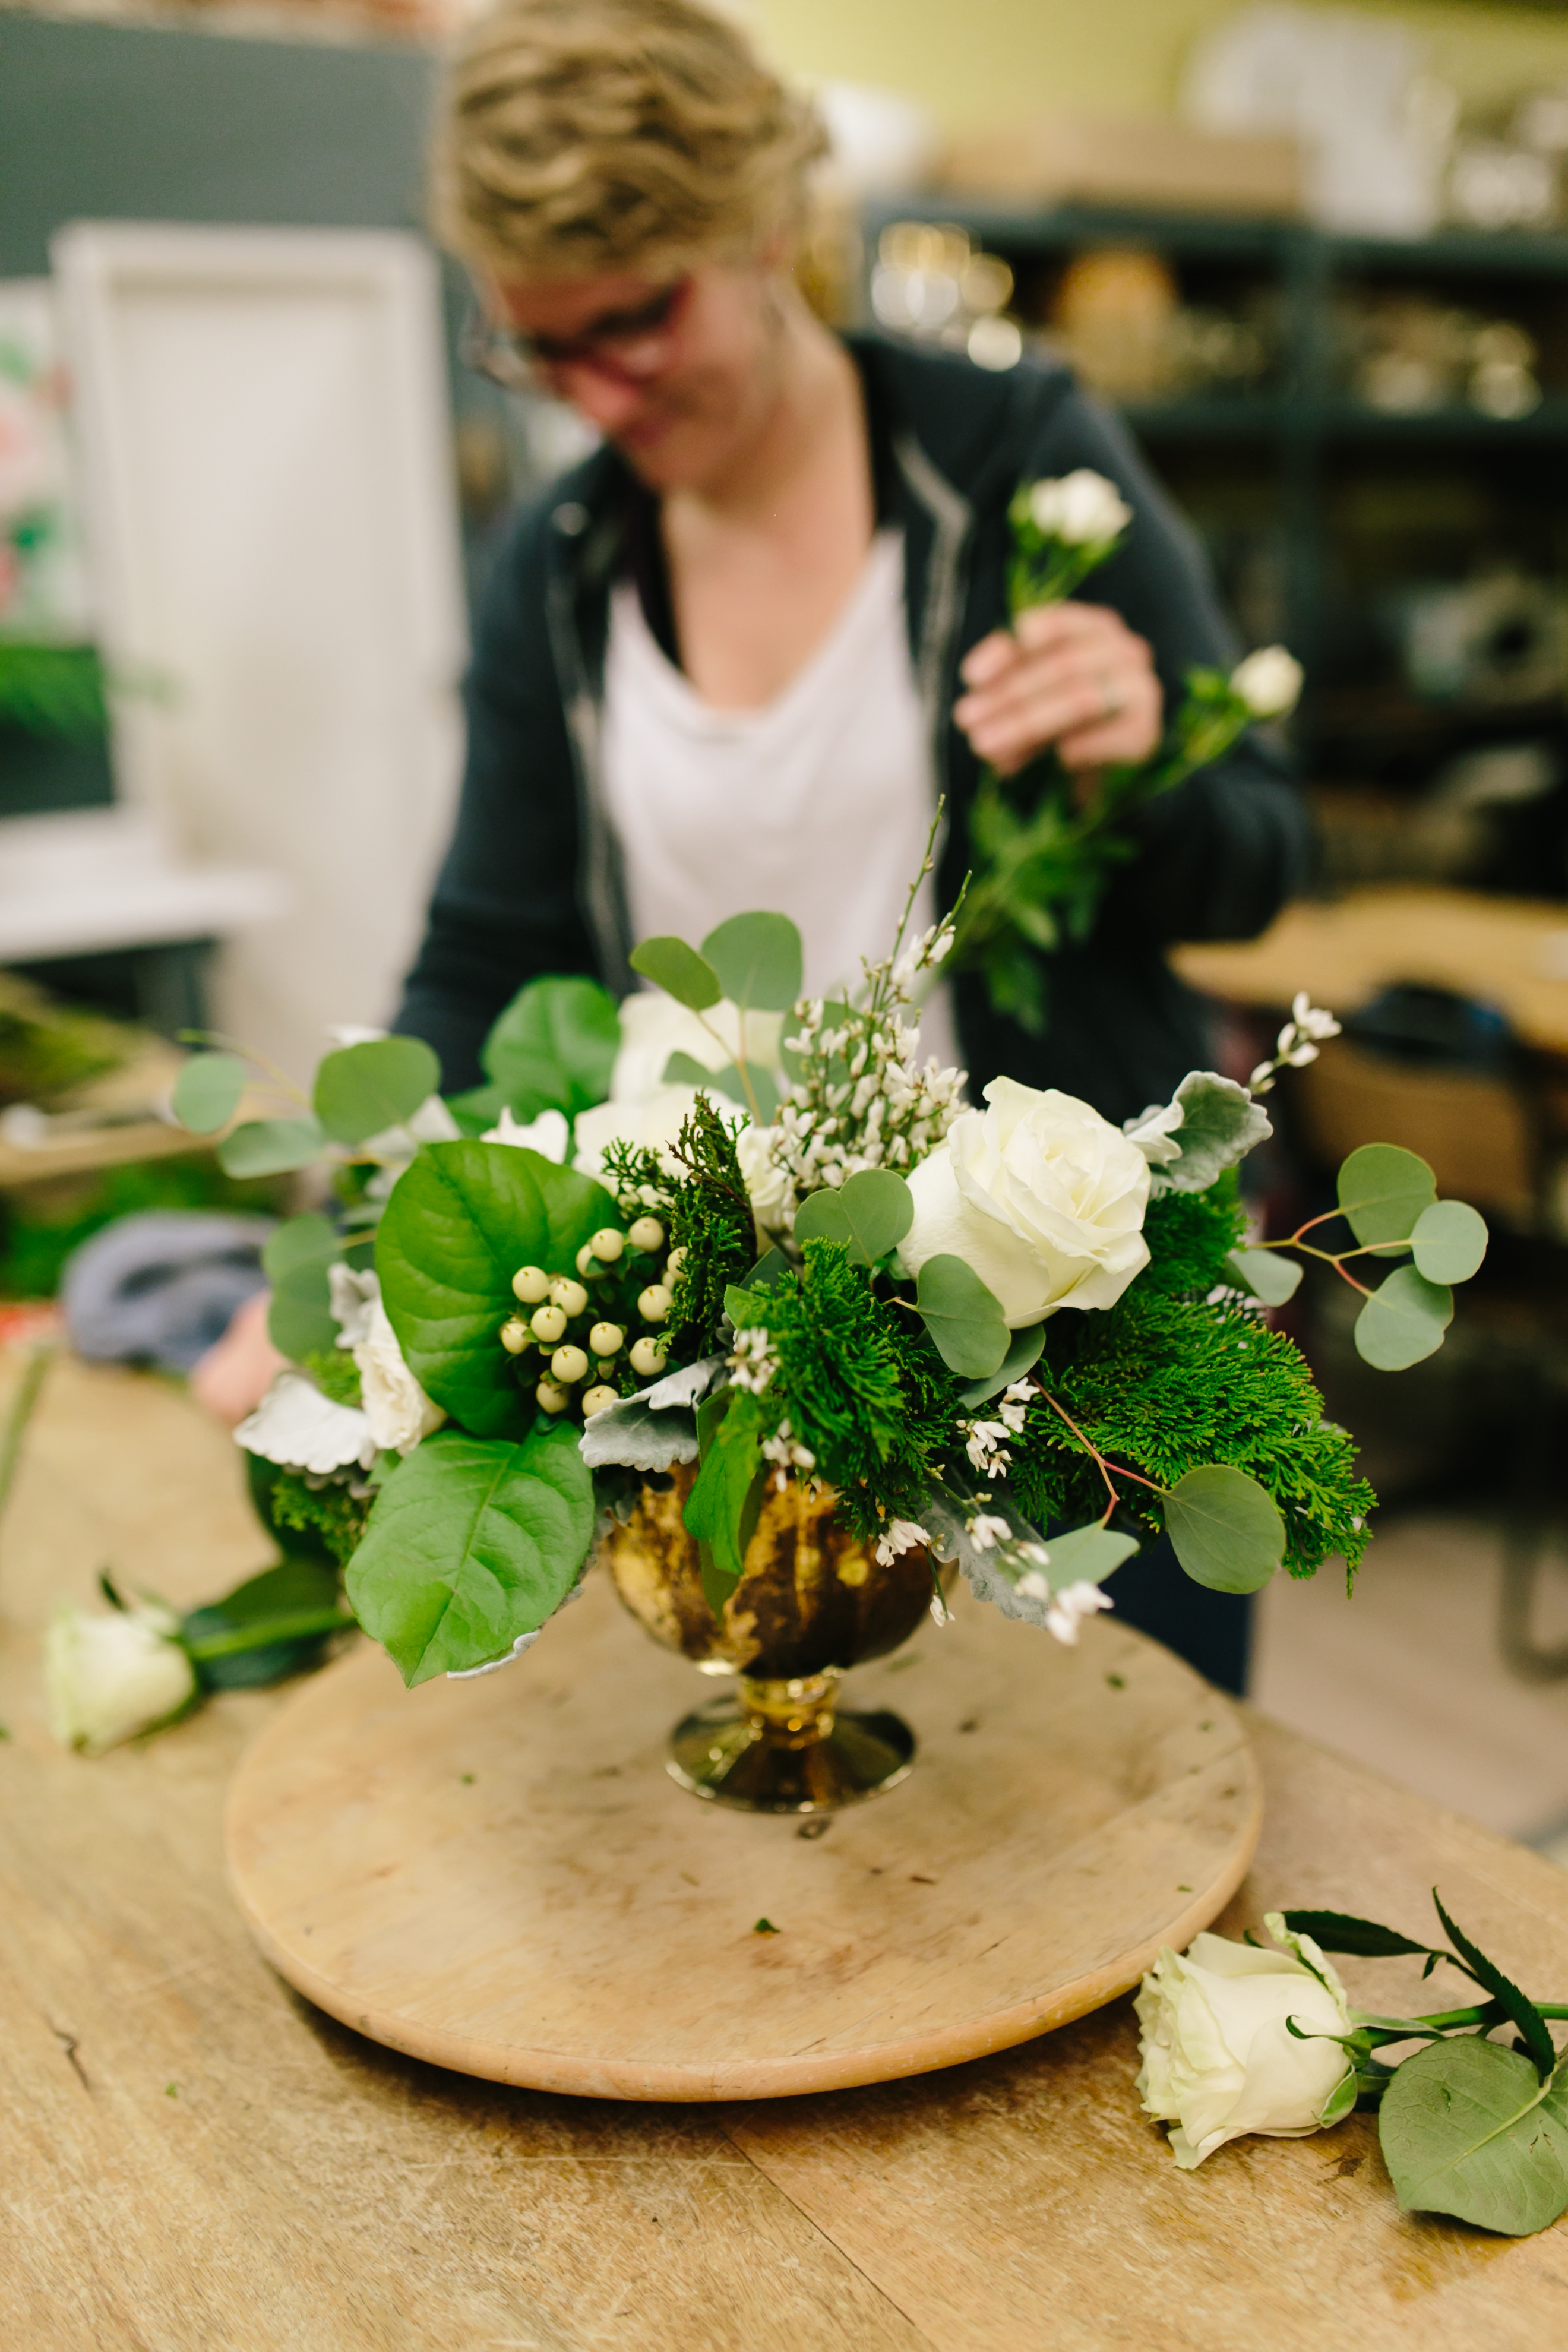
So when I started planning my Friendsgiving party – I started thinking about the decor and how I really wanted a seasonal centerpiece full of gorgeous greenery. But yet again, I had NO idea how to make one! So I reached out to my sweet and talented friend Emily of Columbia City Bouquet and asked her if she would show me, STEP BY STEP, how to create a season centerpiece – and she said YES! So for my next edition of “How to be an Adult” series we are learning “How to create a seasonal centerpiece” for the holidays in TEN easy steps!
Let’s meet Emily! (Click below)
So we decided to create a centerpiece that would be placed on my rectangular dining table. And I learned that impacts the type of arrange you want! The specific list of the greens and florals we used are at the bottom of this post.
STEP ONE : Choose your container.
I knew I wanted a container that would match my colors white, gold, grey and greens (also my brand colors!) So this gold pedestal was perfect! Emily shares why this was the best choice!
STEP TWO: Grid the top of your container with clear floral tape! (I never knew to do this..it makes so much sense…)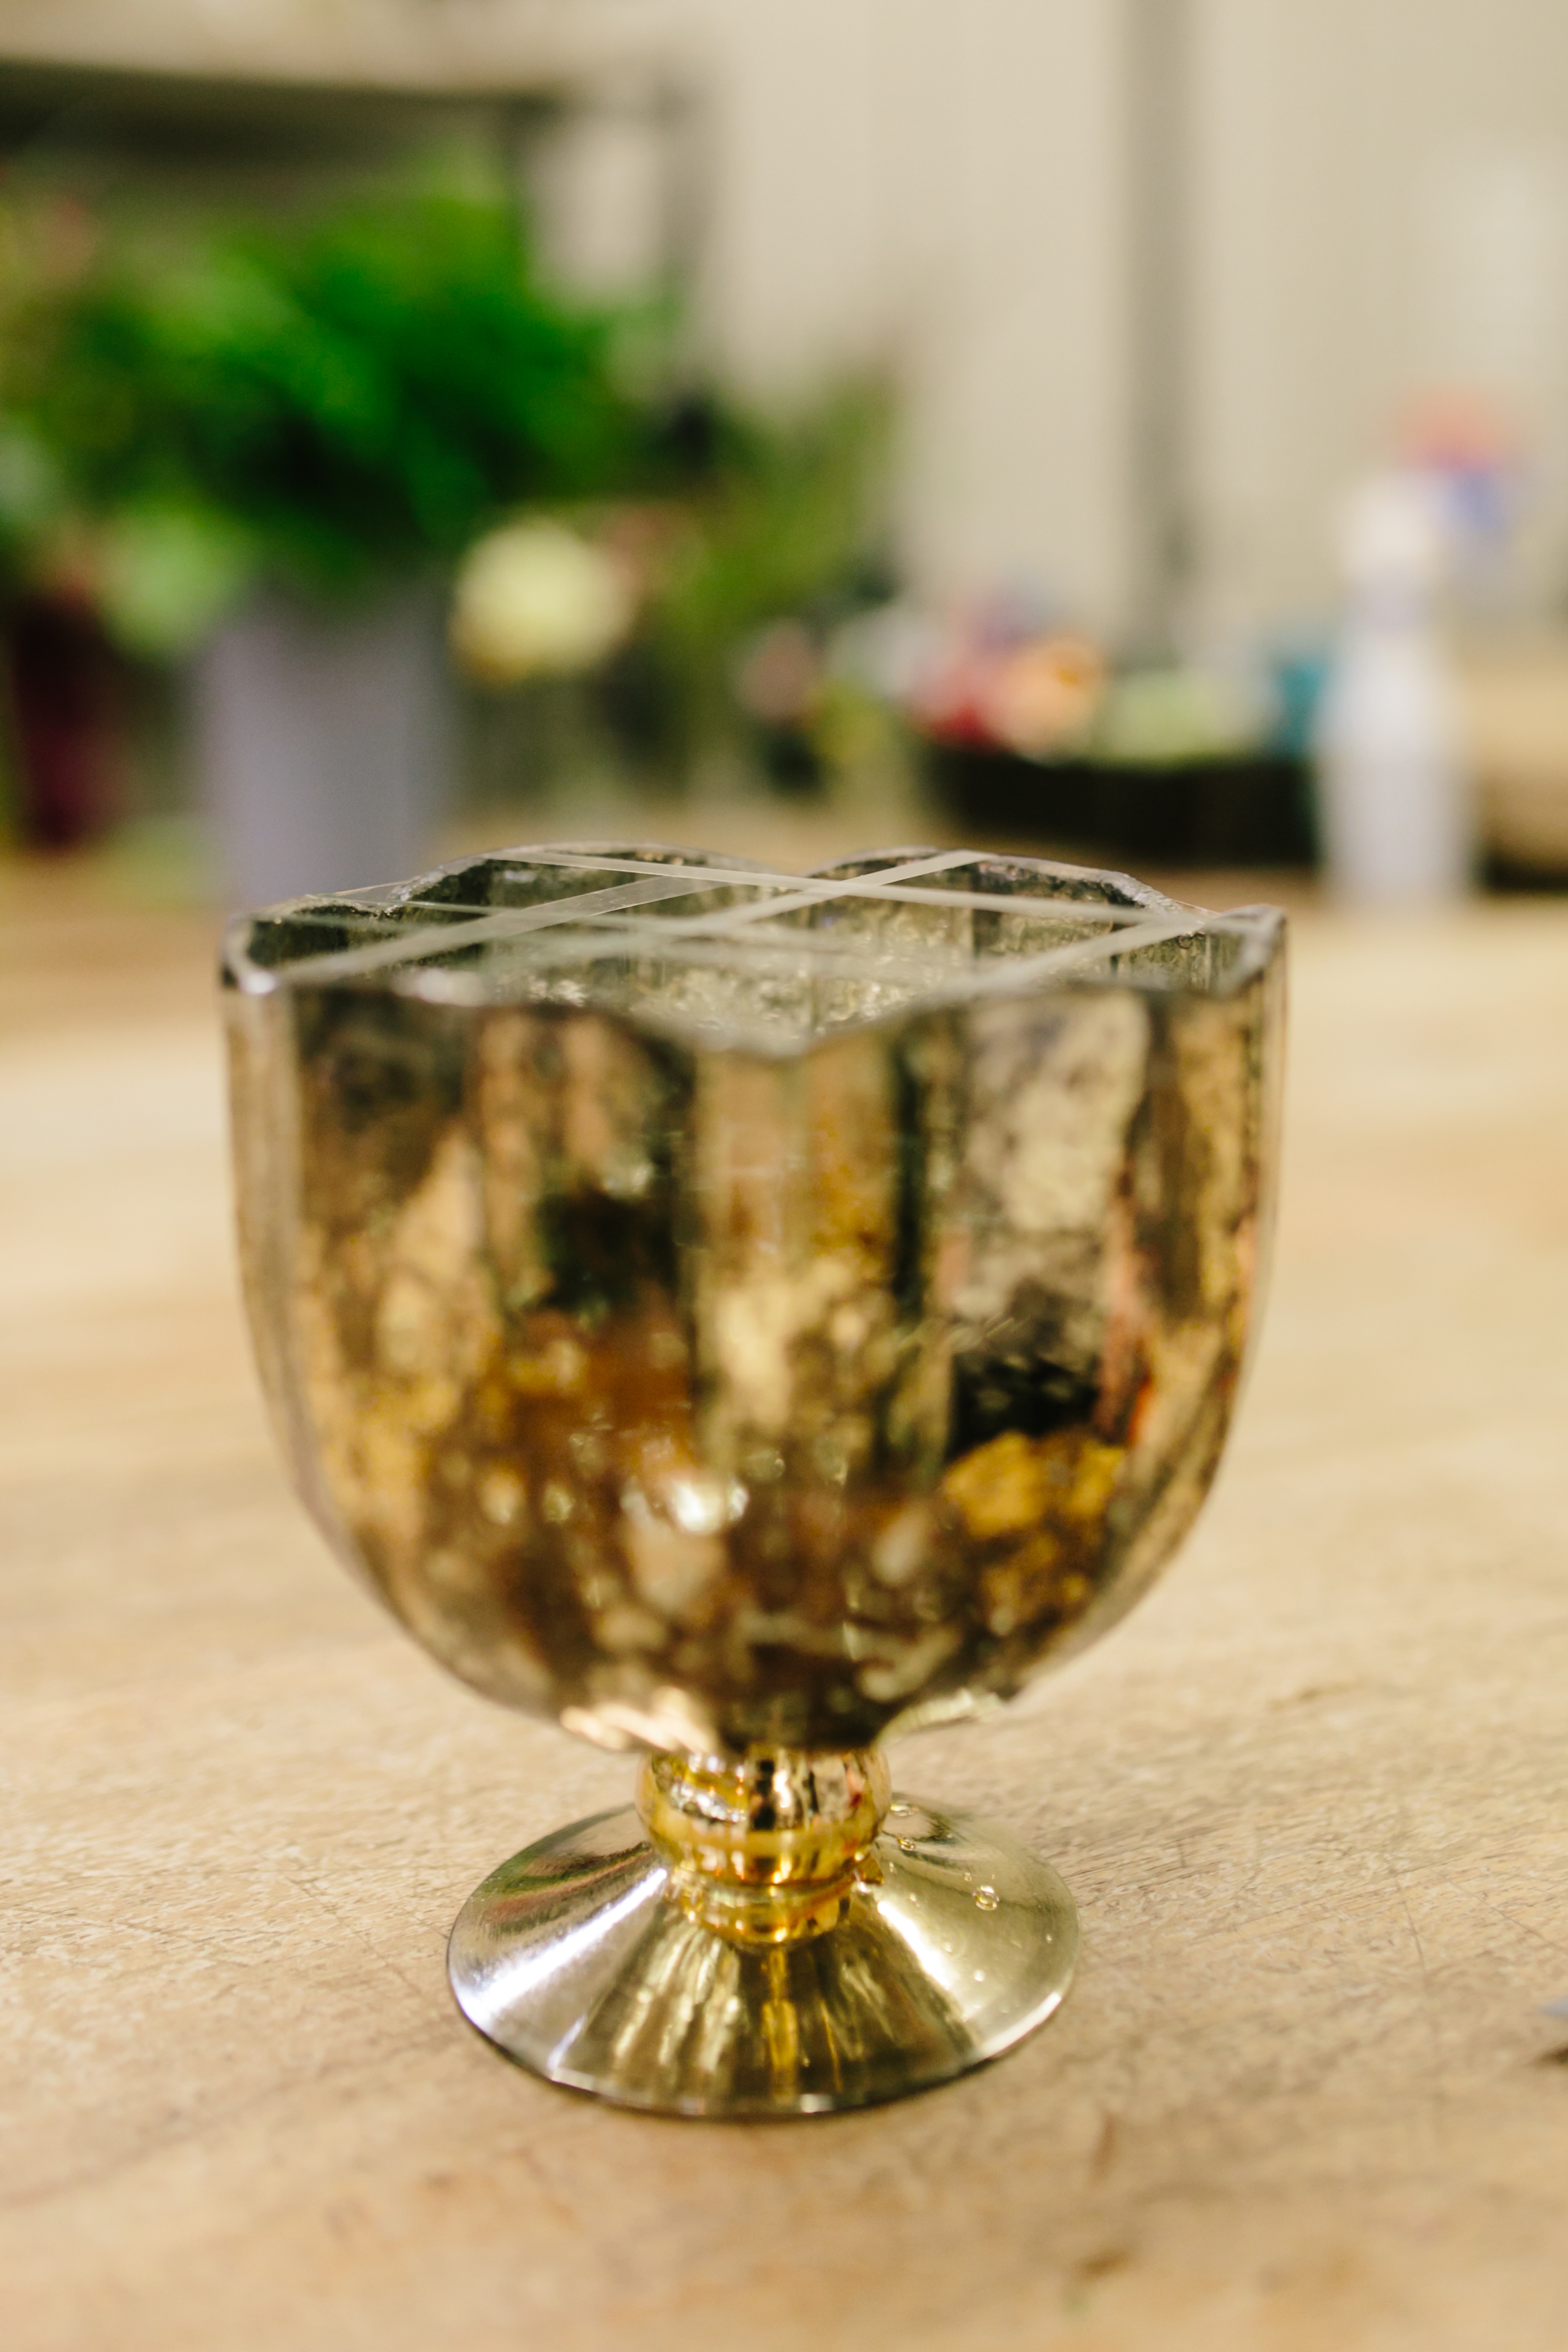
Emily shares why we use Floral tape here:
STEP THREE: Clean the stems of your greens!
STEP FOUR: Build a Lattice with the greenery.
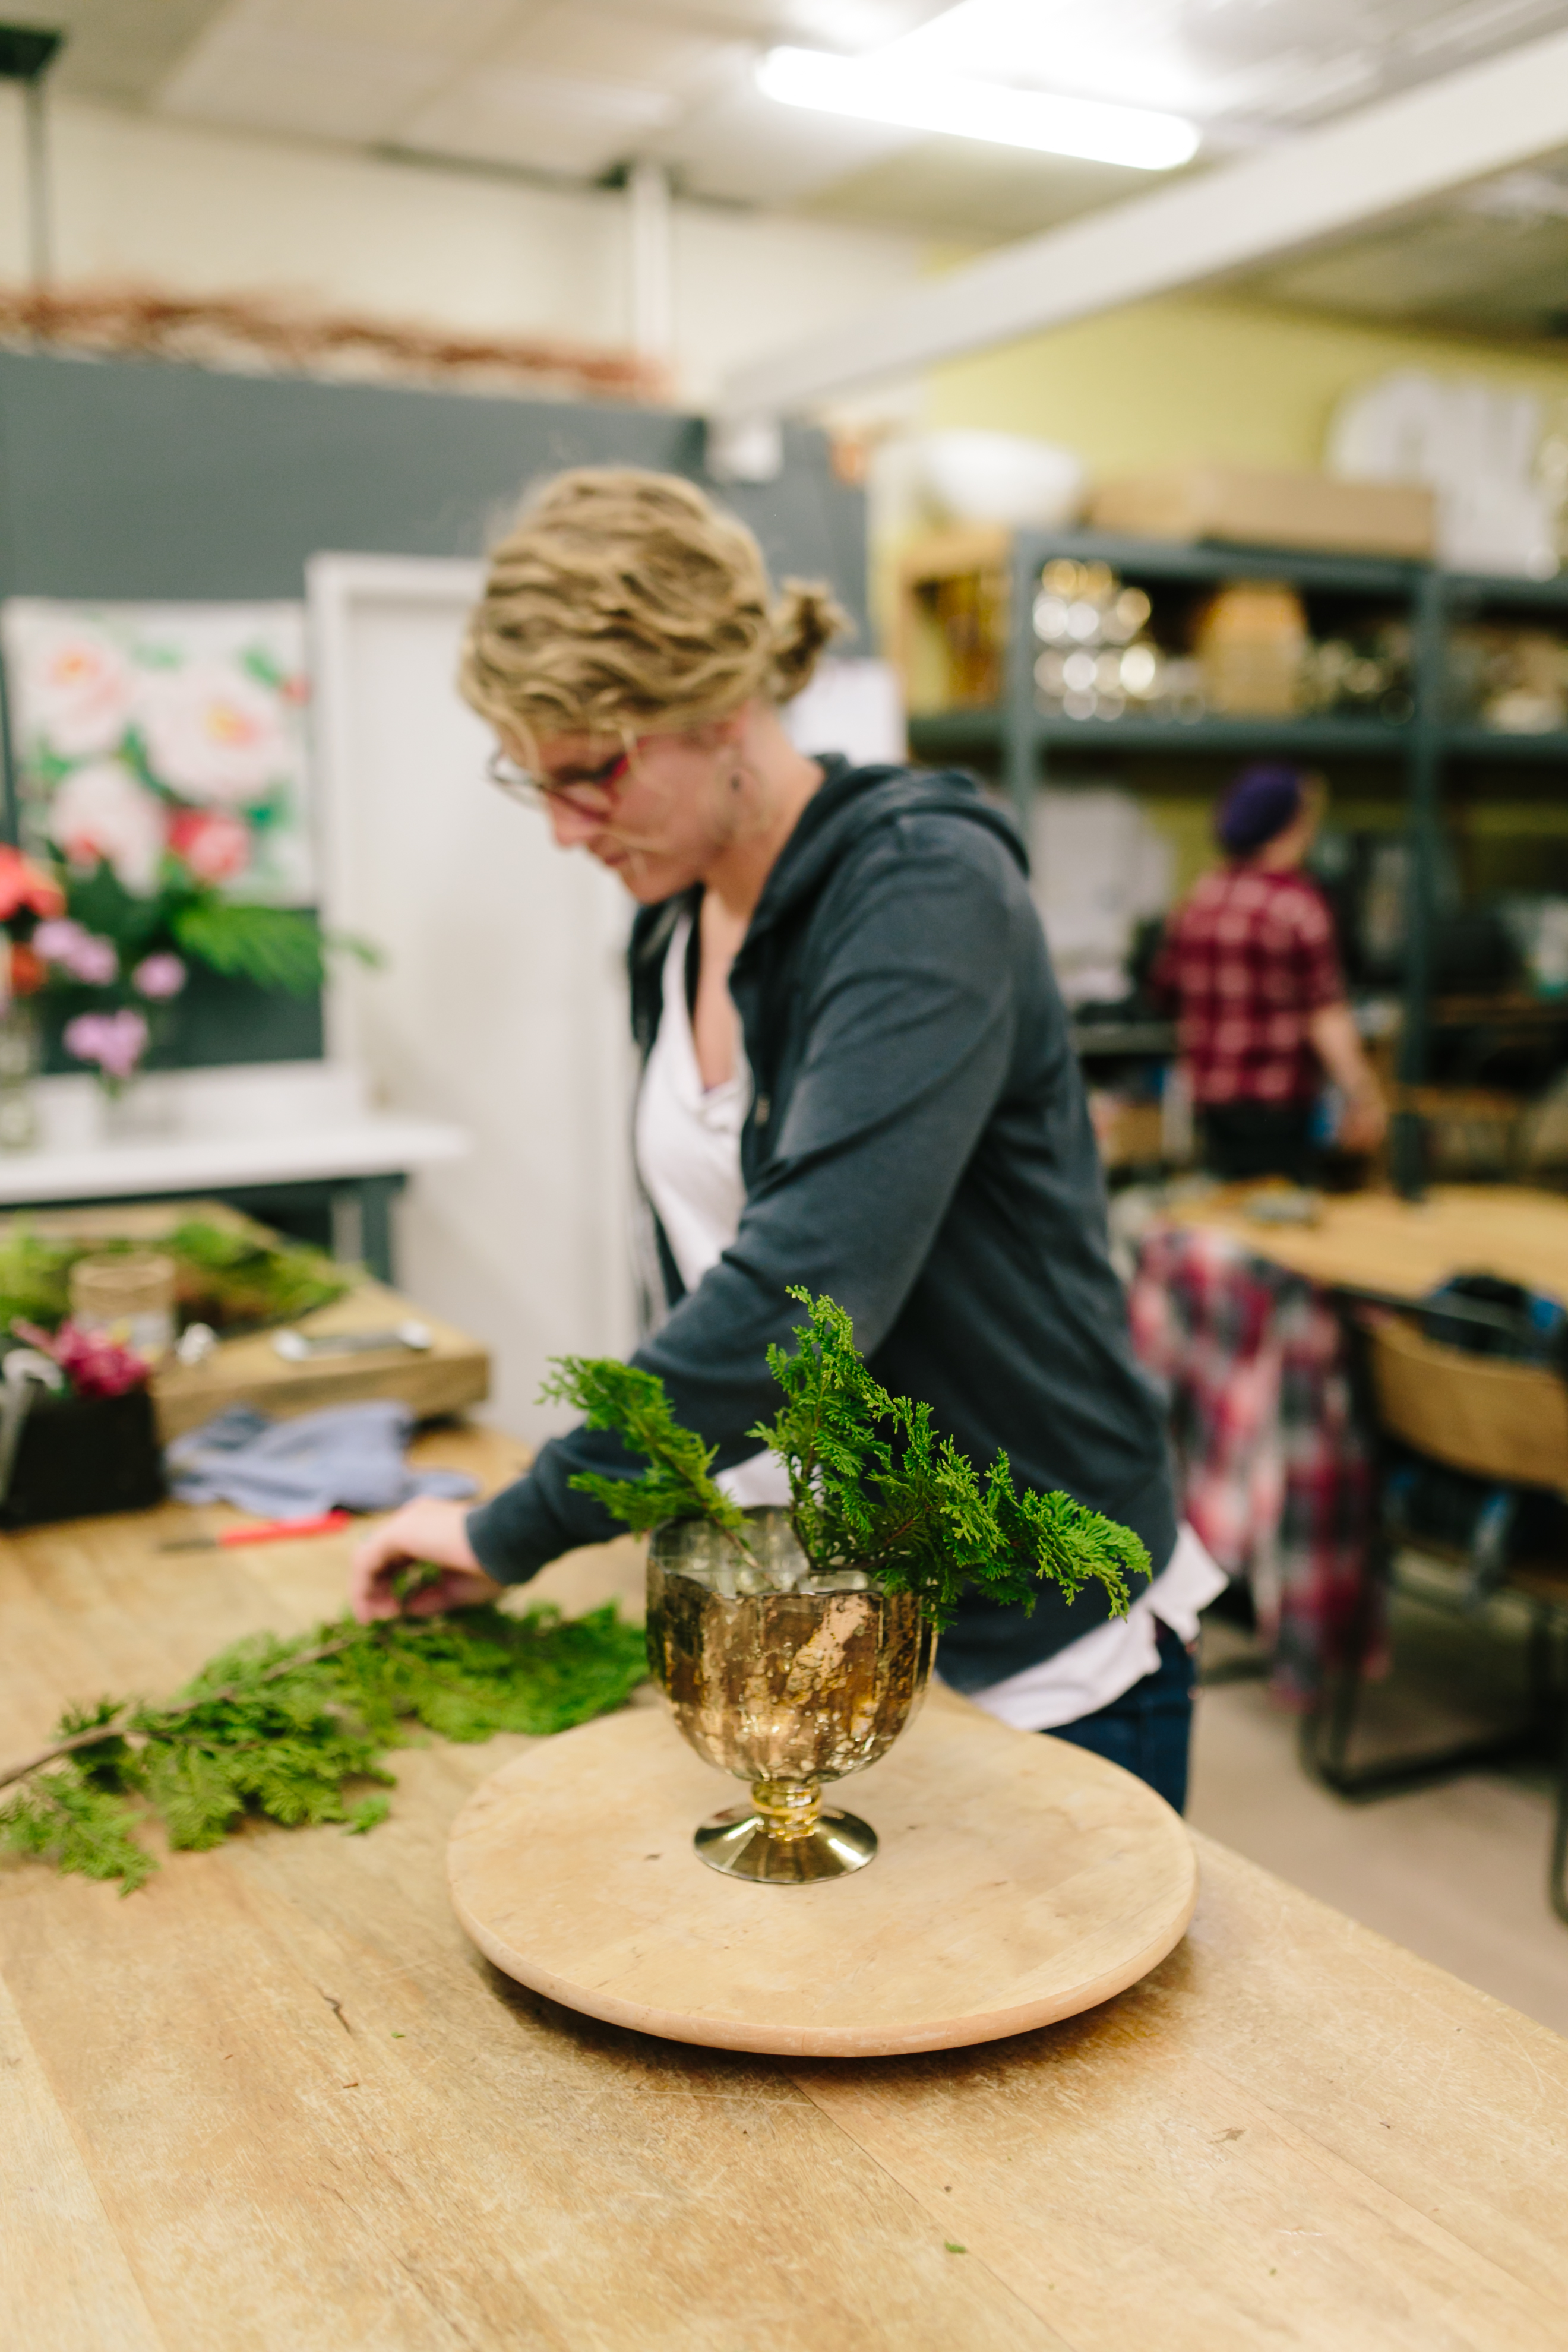
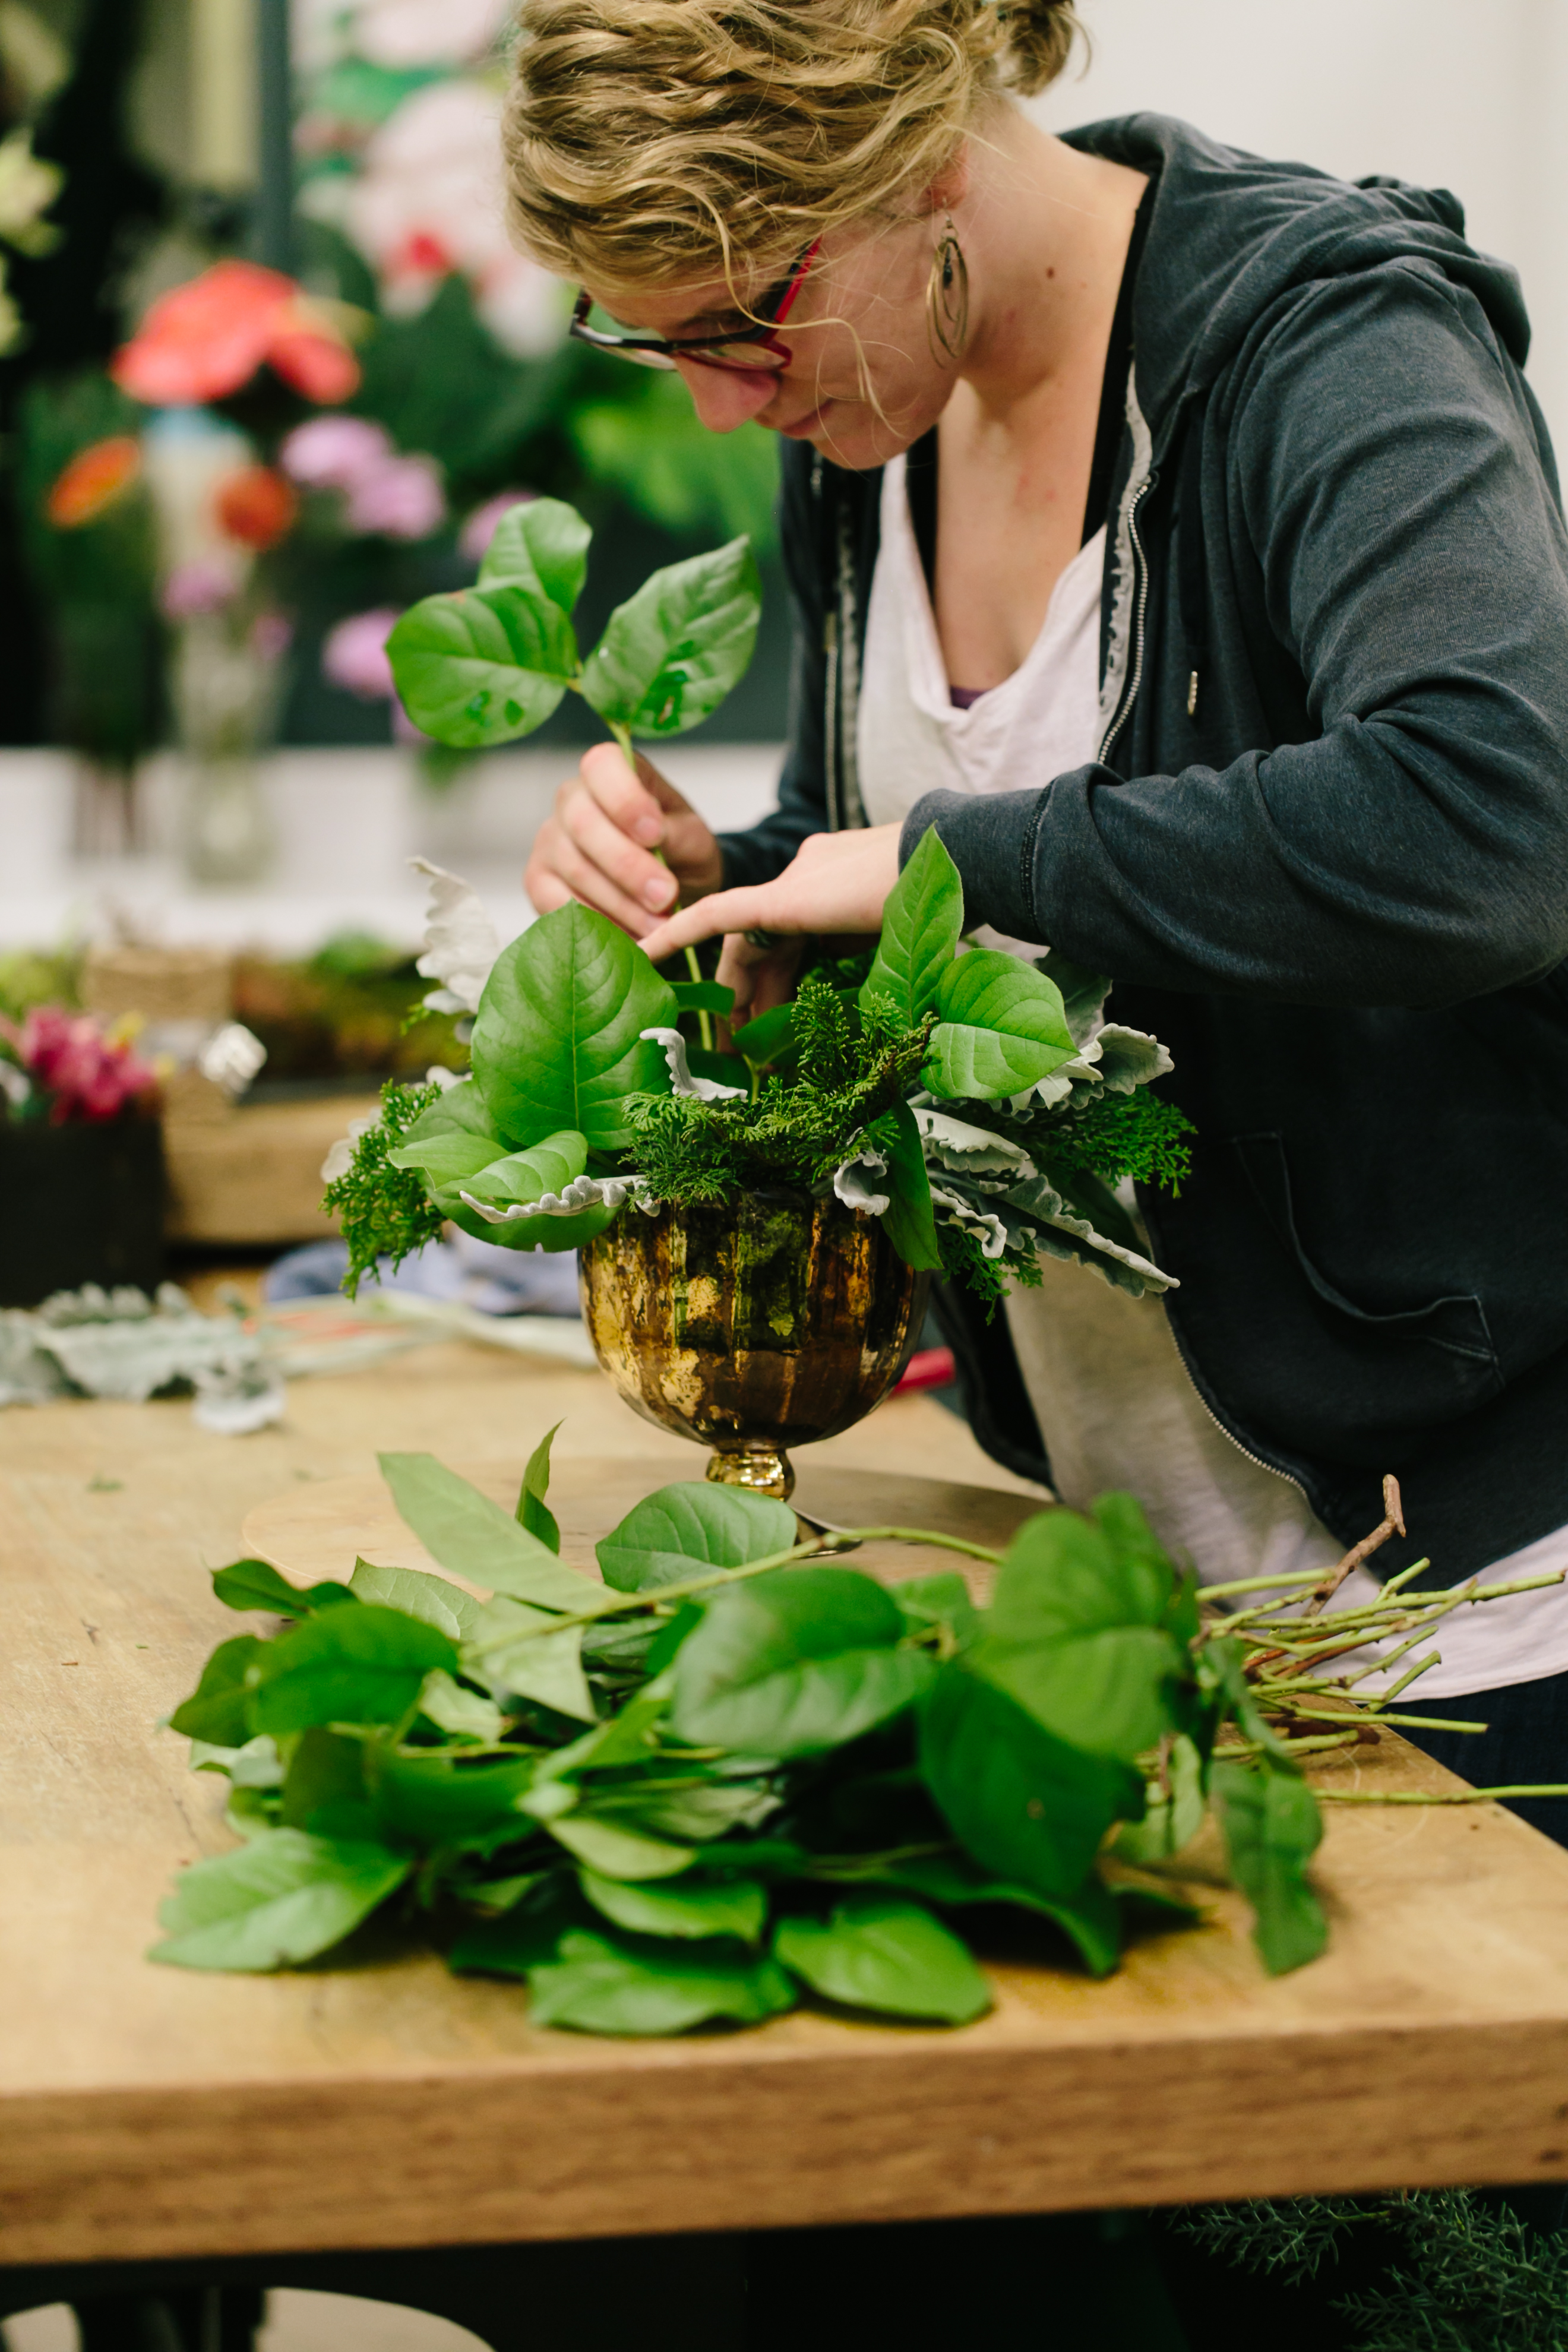
STEP FIVE: Build the shape of your centerpiece.
STEP SIX: Select your florals + prepping them!
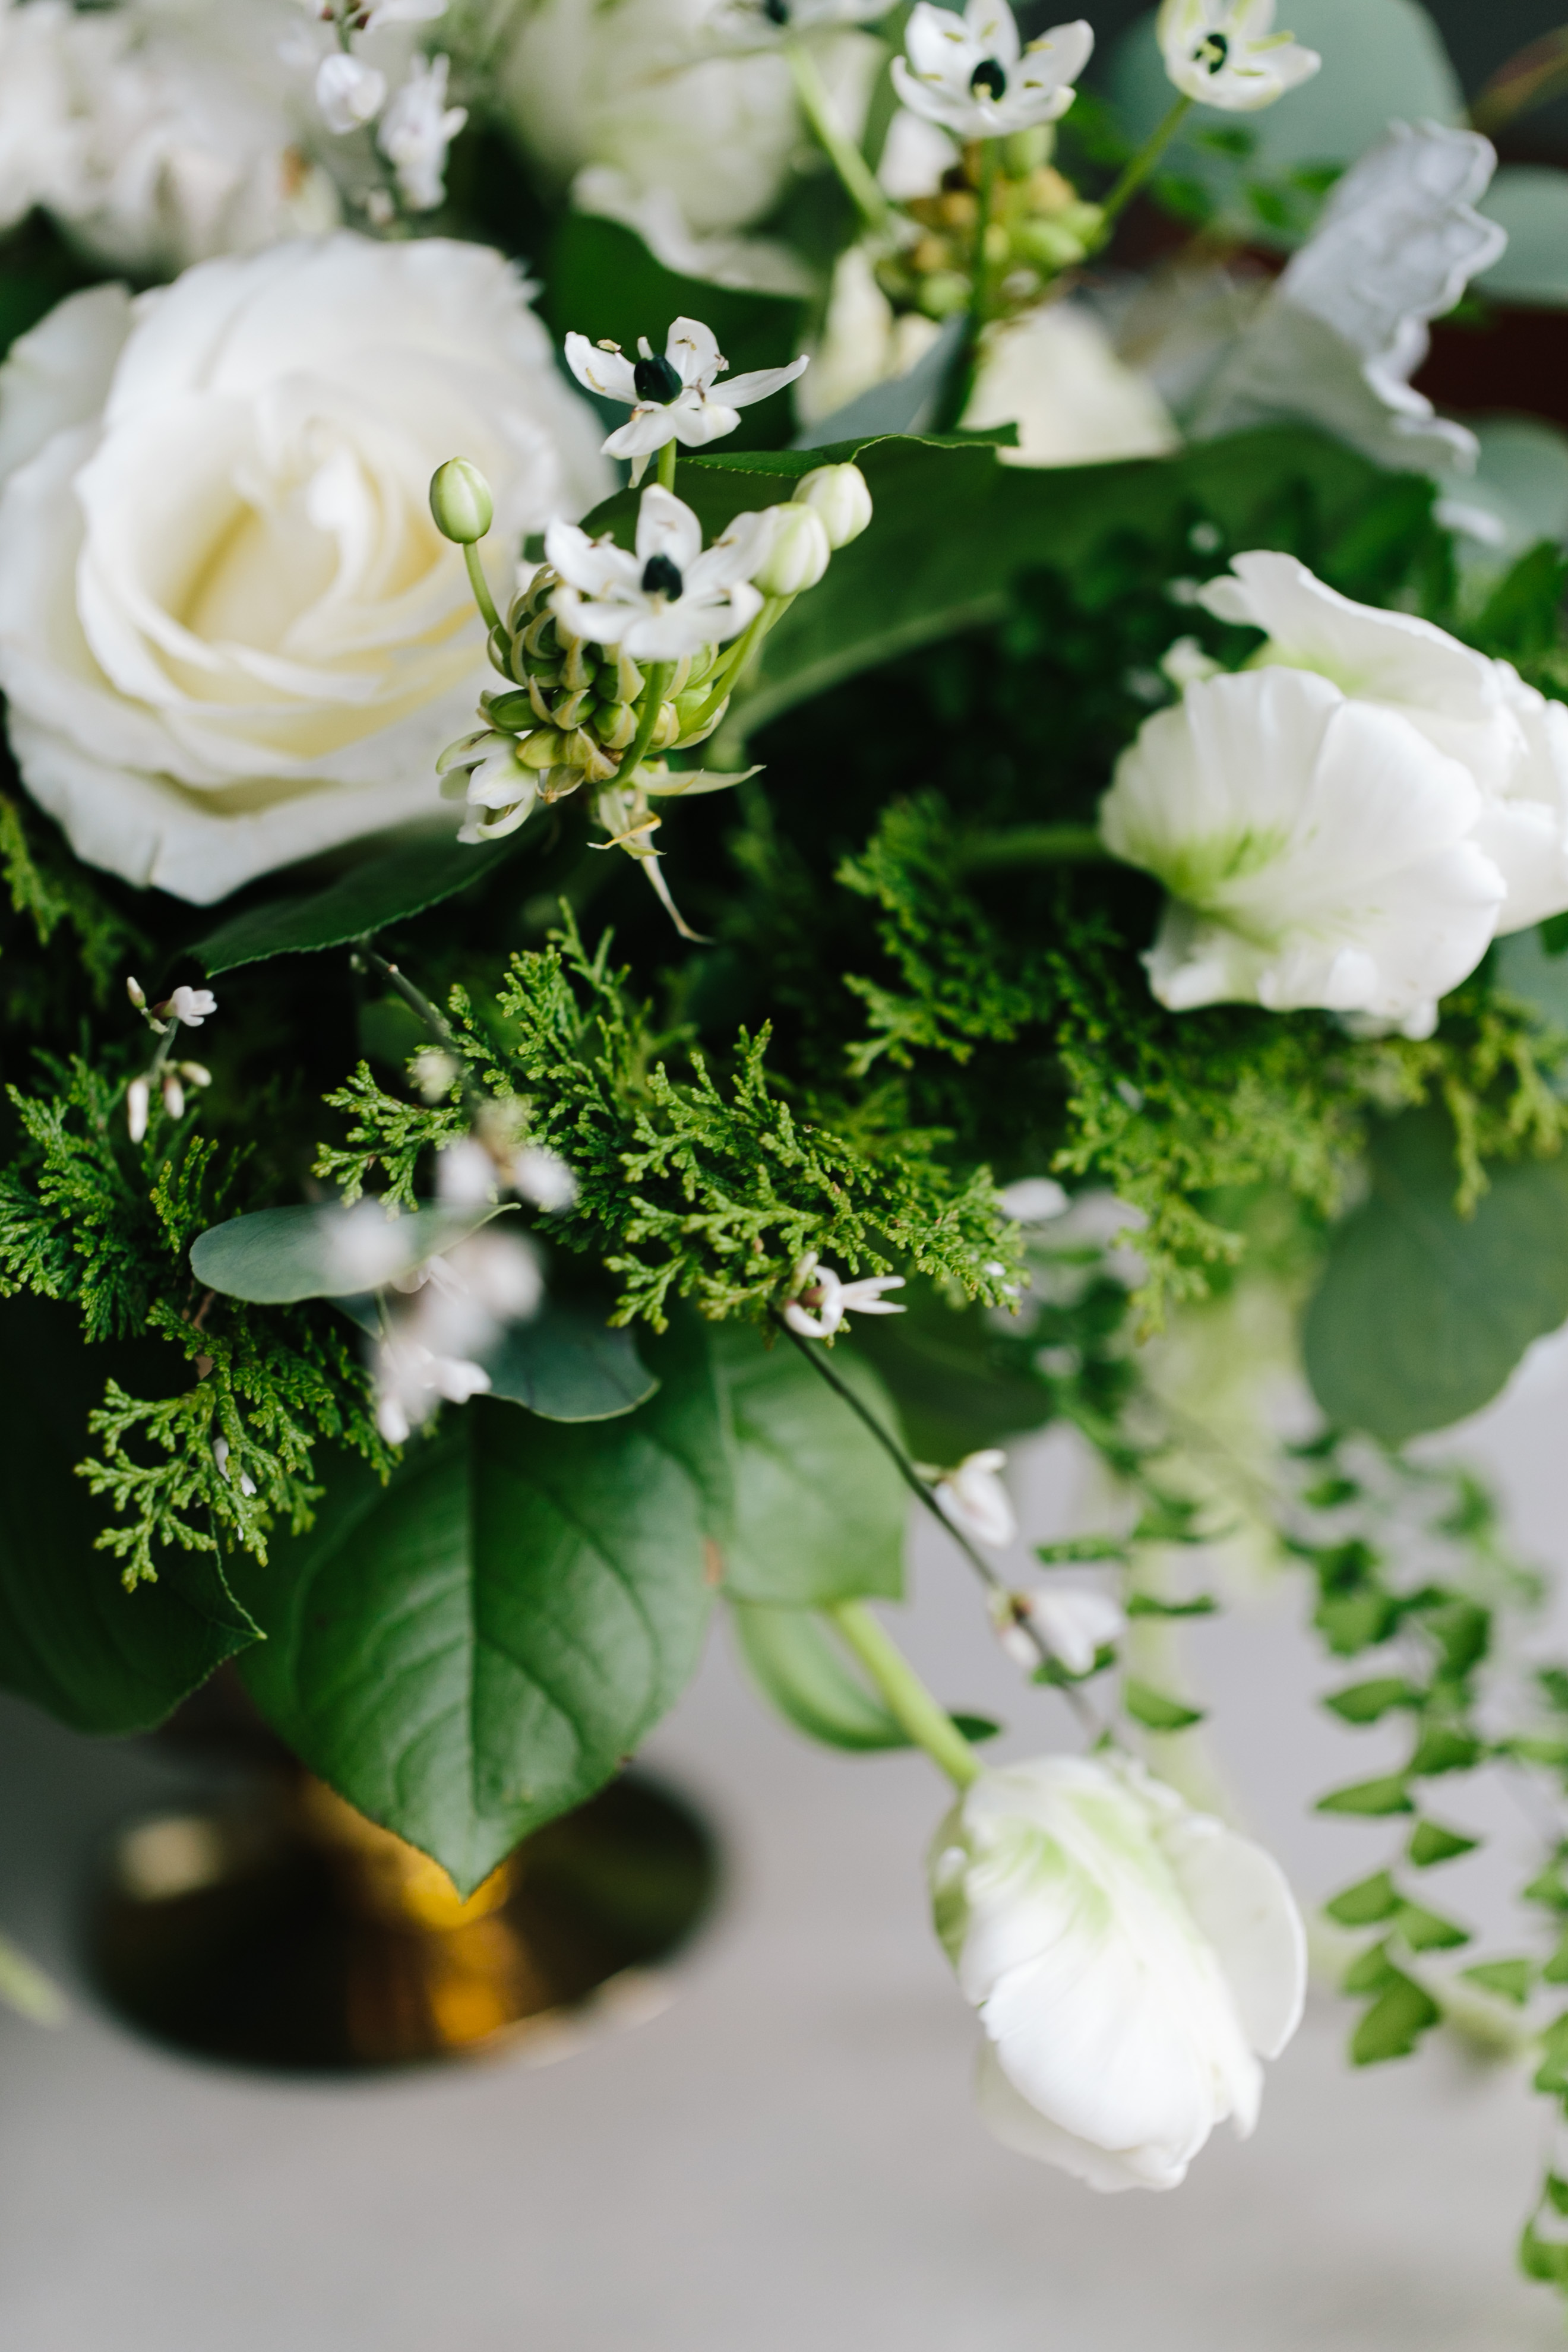
Be sure to be thinking about texture, size, softness – to give a good variety to the piece.

If you decide to use roses – you need to prep them! Here’s how!
STEP SEVEN: Start with your statement flowers and continue to build the shape
Now that we are done with the greens and adding the flowers, we want to always add the statement flowers in first.
Emily chose roses to be the statement flower, so she put the roses in first because they are big face flowers and take up lots of space. You want to fill the arrangement with roses (or your statement flower) first, and then fill it in with your interest flowers.
Since this arrangement will be viewed from both side we decided to make the piece symmetrical.
STEP EIGHT: Add the Draping flowers last.
Now that the main structure of the arrangement is done, we can continue to elongate the shape by adding in the draping flowers.
STEP NINE: Finishing Touches!
STEP TEN: Flush the water out! (the trick is going to make my life so much easier!!
)
WATERING TIPS:
Every day add some fresh water to your arrangement, and every couple days change the water. Thats it!
Here is the list of greens and florals we used, but you can do a fantastic centerpiece on a budget!
ANNOUNCEMENT! For those of you who would love to learn from Emily yourself, we are excited to announce that Emily is hosting a “Seasonal Centerpiece” workshop on December 18th! She provides the tools, the greens and the florals and you get to learn from her and walk away with a fantastic centerpiece that will surely impress the holiday visitors! Sign up before its sold out! Click here to learn more!
Greenery + Florals We used:
Greens (Left to Right): Dusty Miller, Cedar, Silver Dollar Eucalyptus, Salal, and Maiden Hair fern

FLORALS (Left to Right): Hypericum Berries, Amaranthus, Roses, Ornithogalum, Genestra, Spray Roses, and Tulips
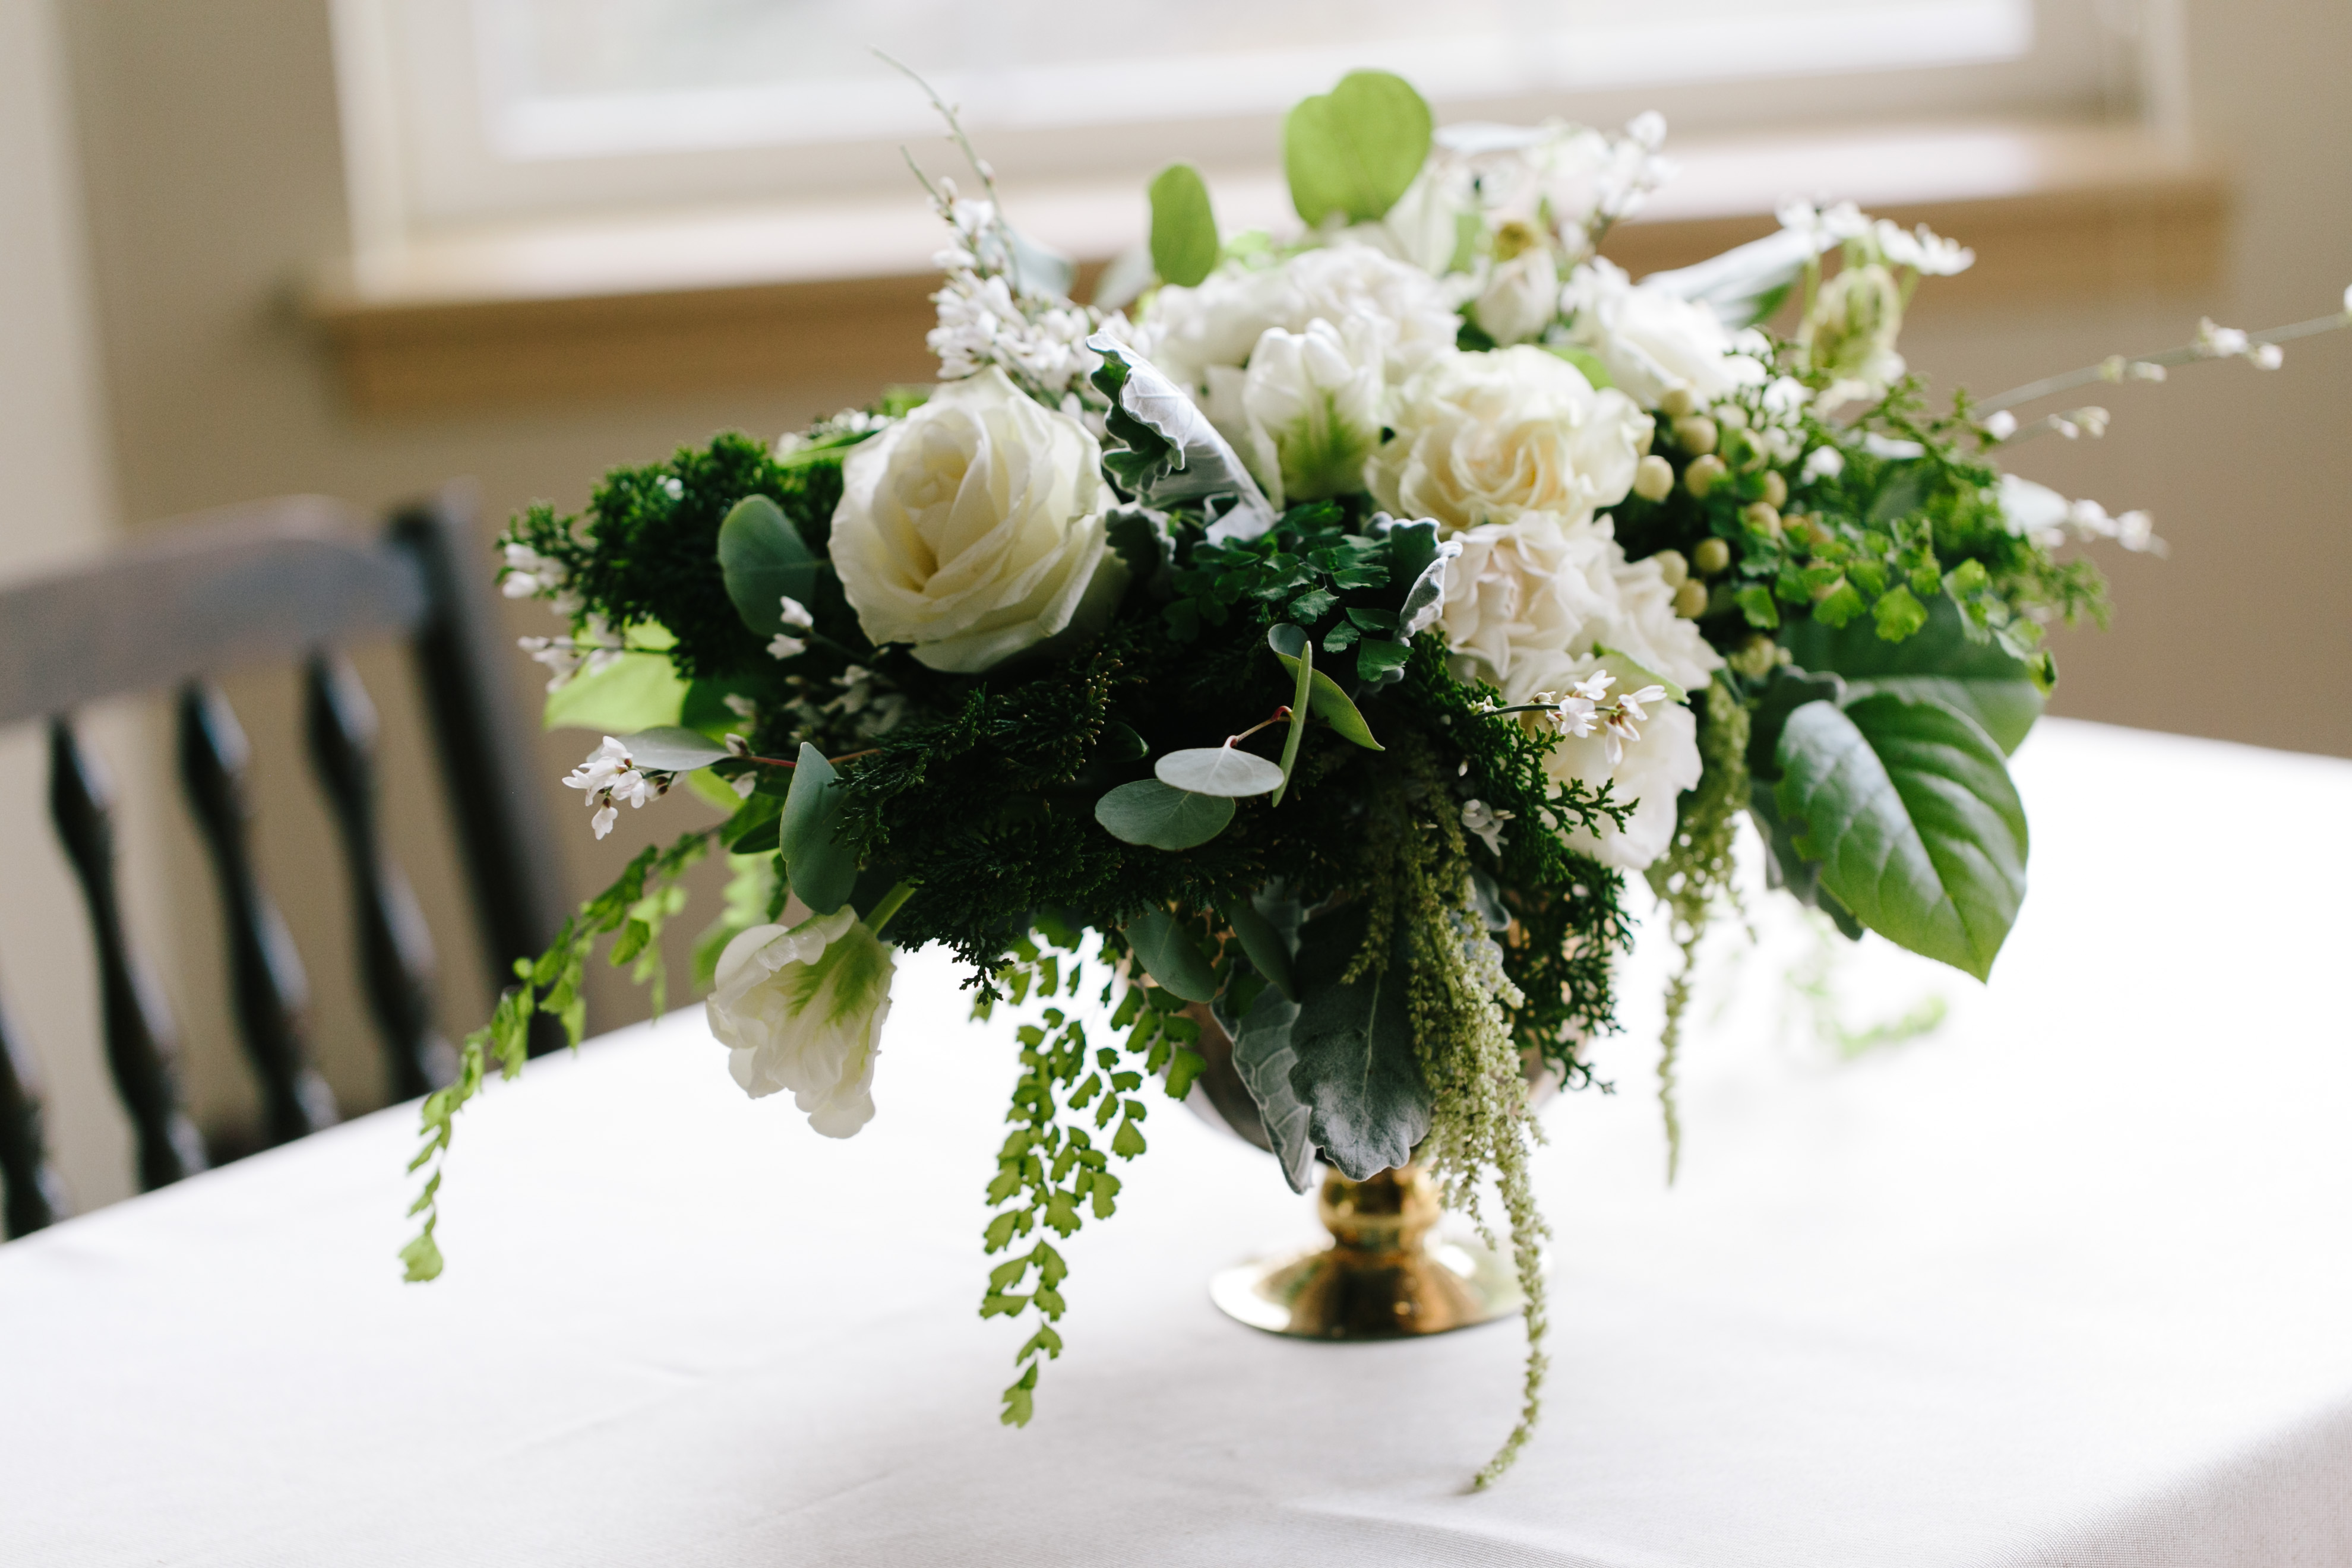
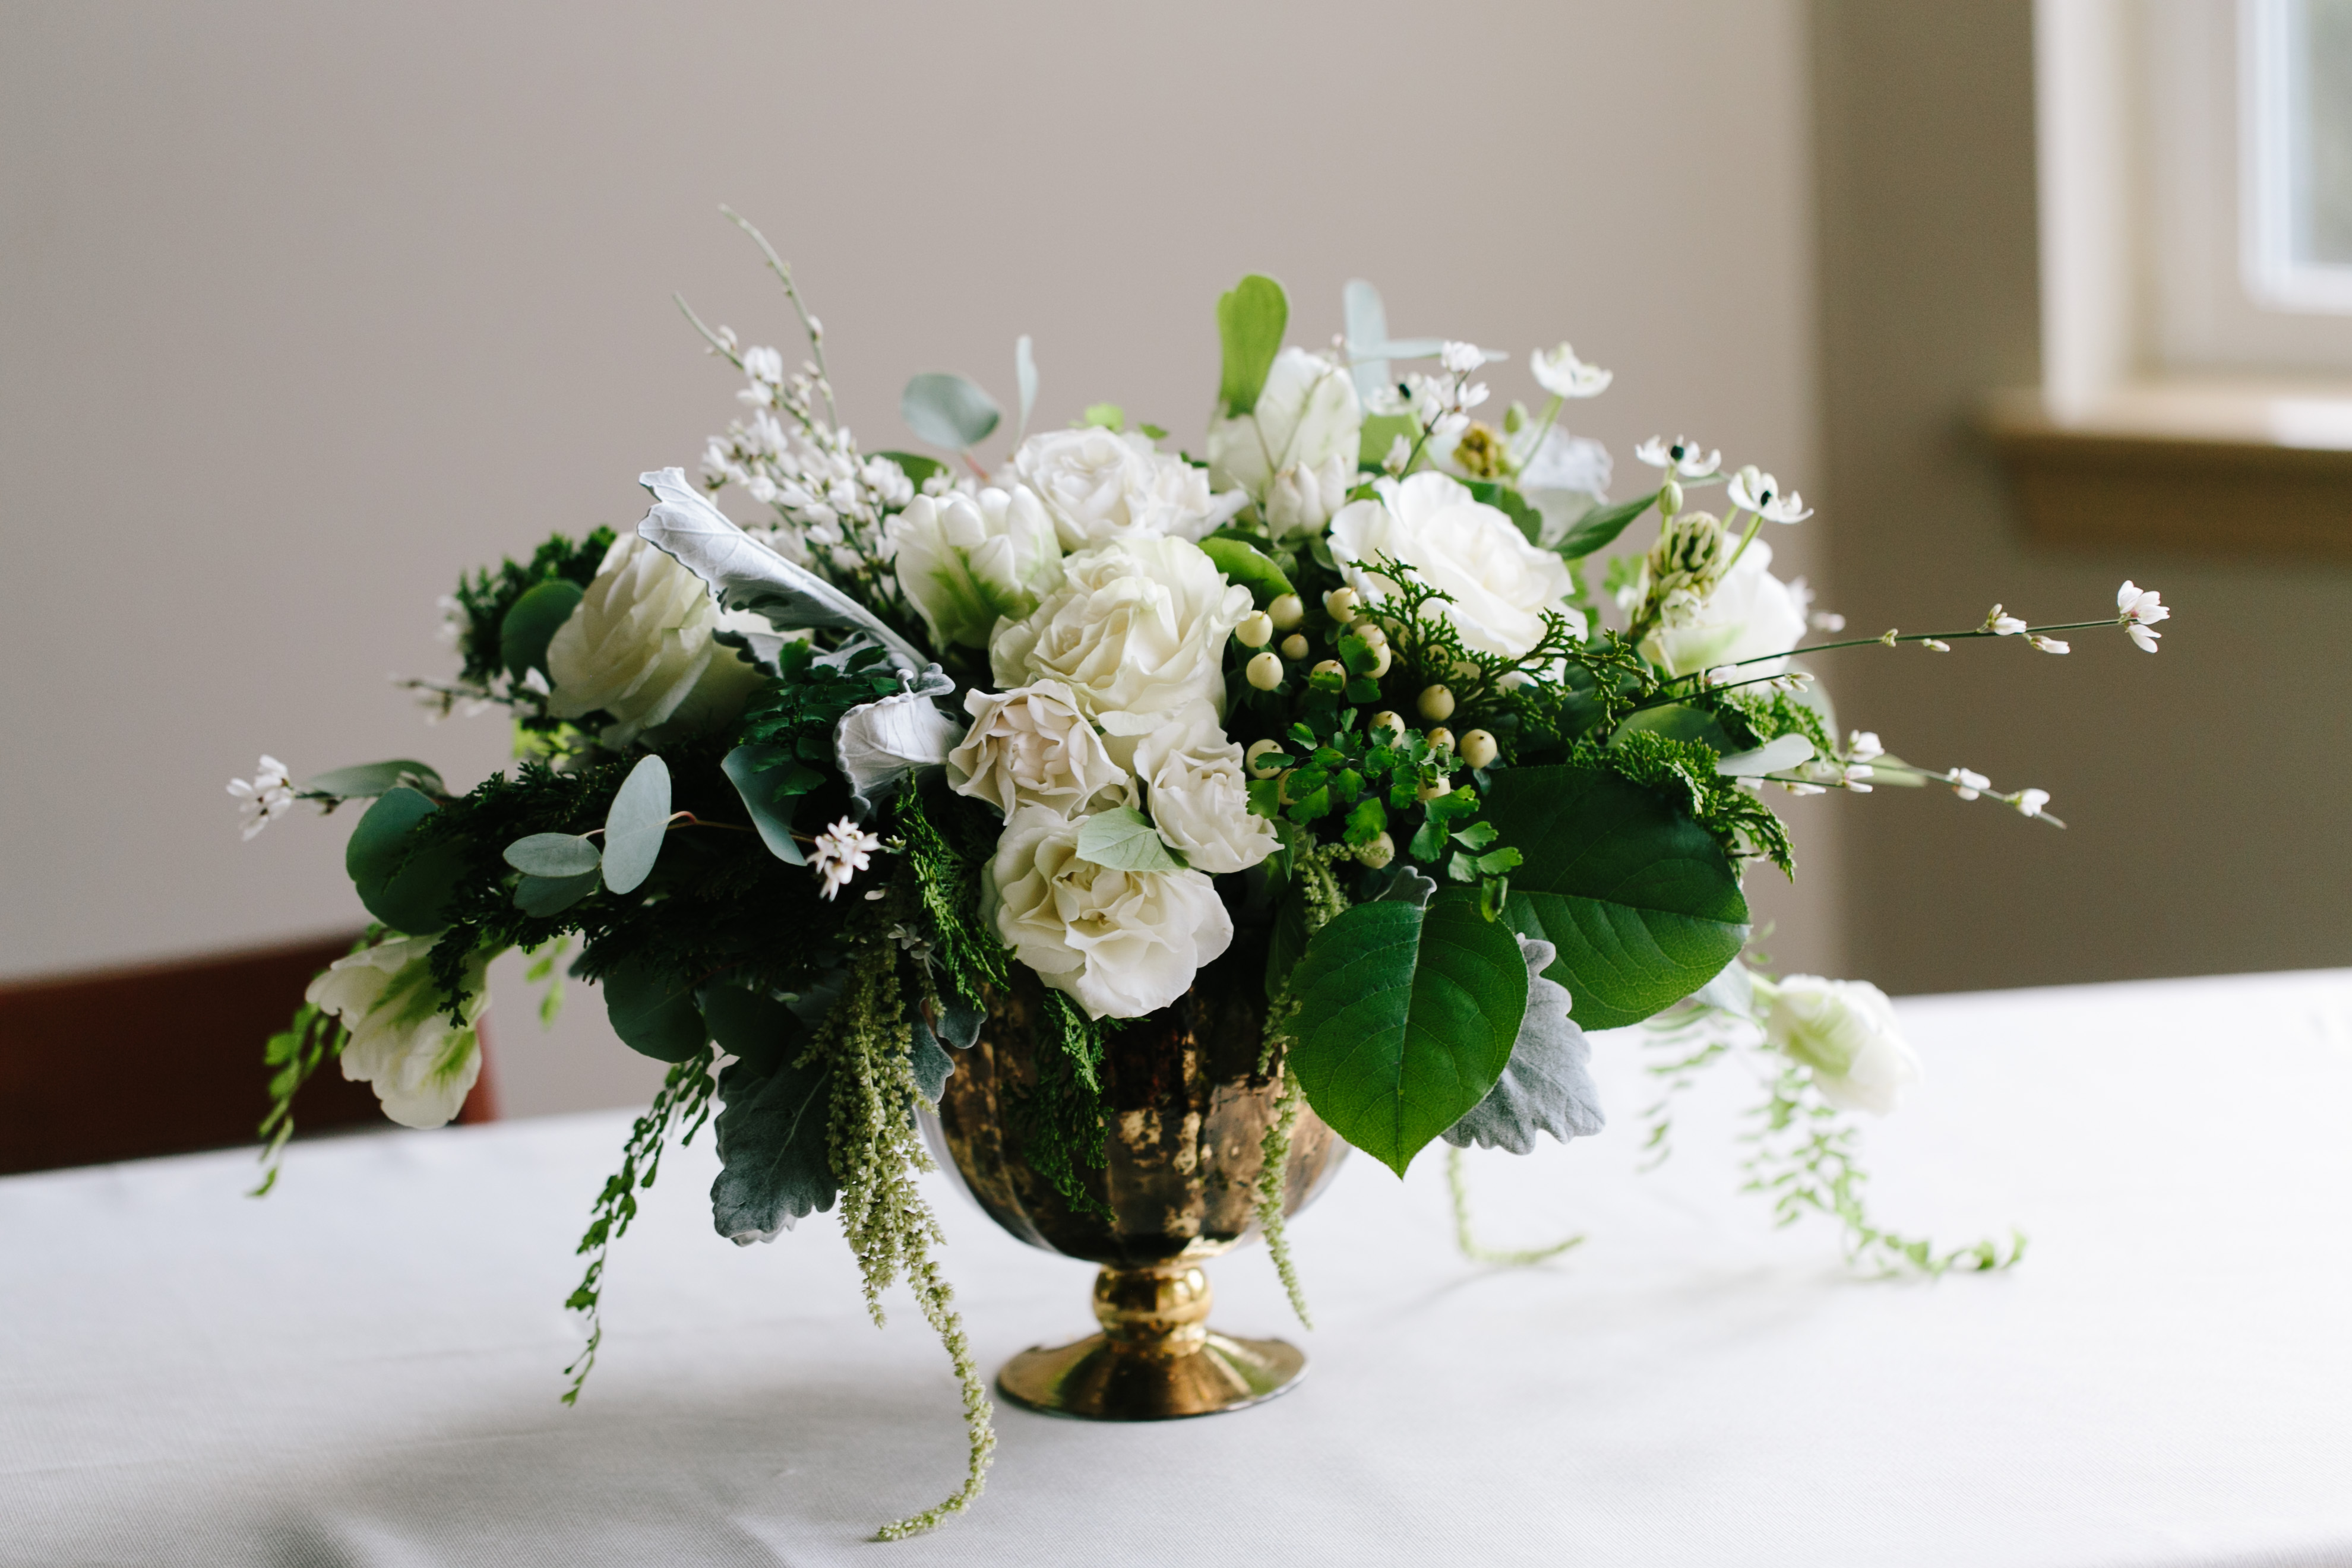
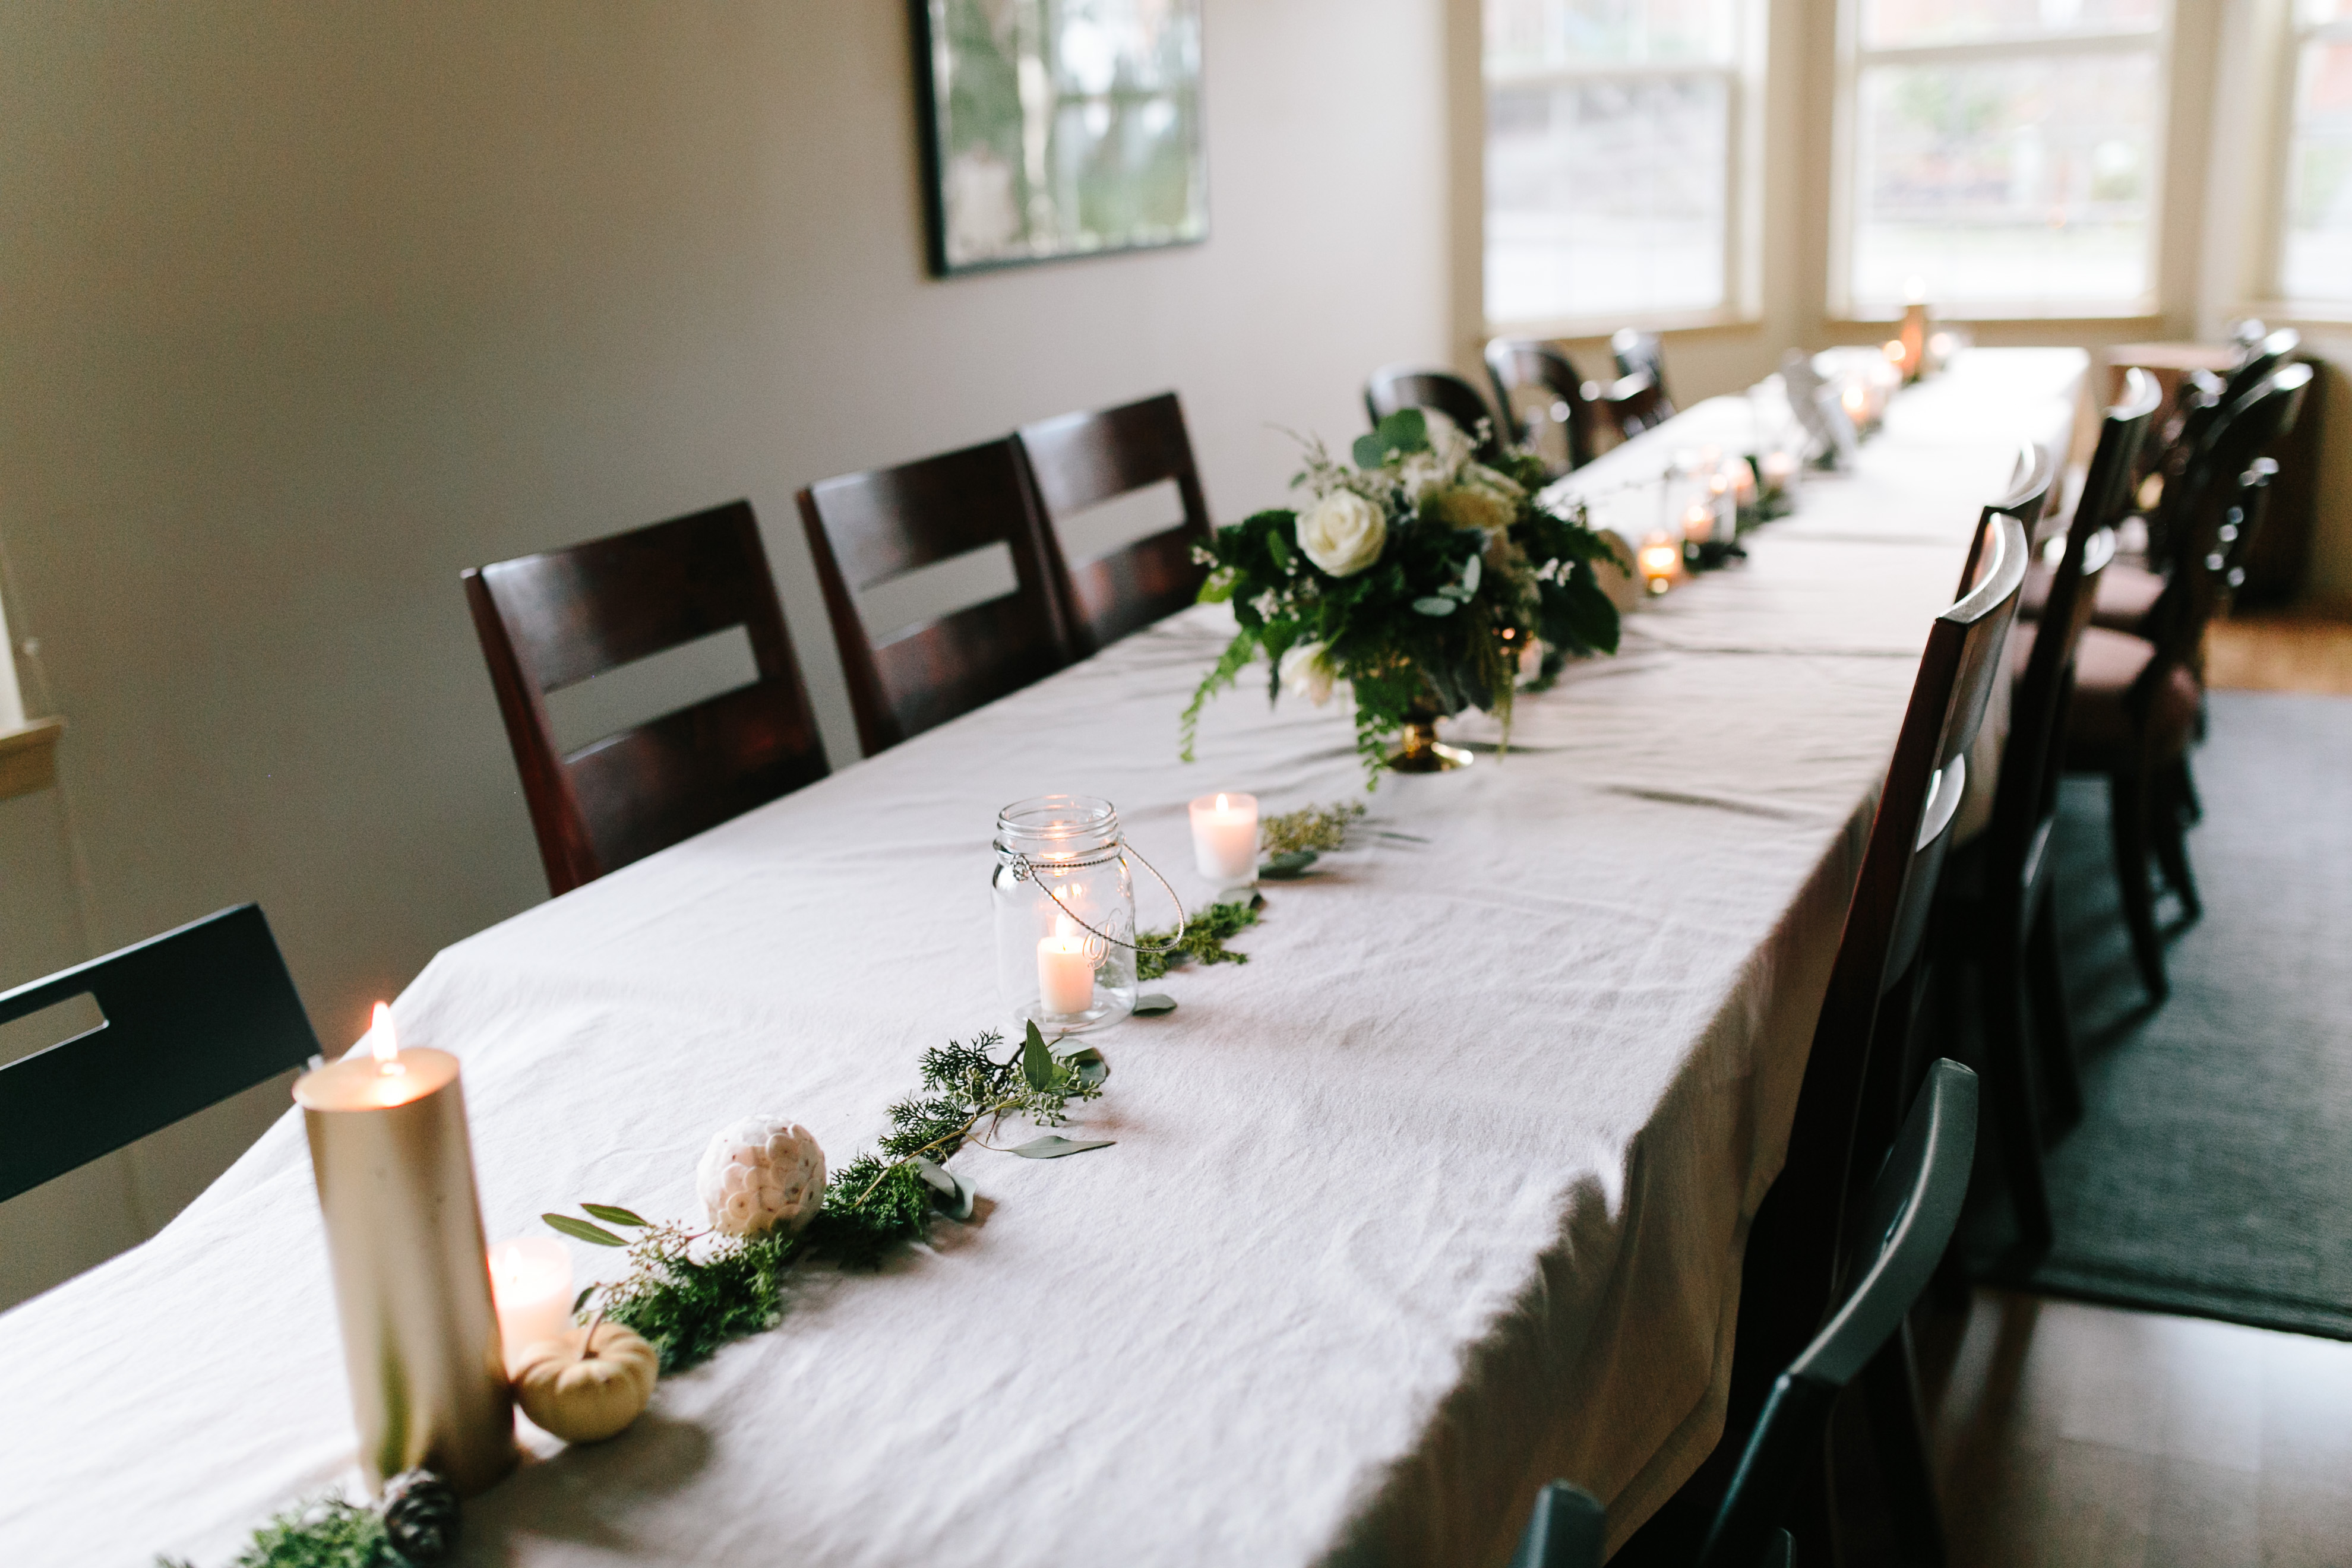
I also got a variety of greenery that Emily recommended to spread along the tables and it worked beautifully! Here is the final display of the seasonal centerpiece!


SPECIAL SHOUT OUT TO: Celena from Francis & Co for doing this beautiful Sign for my party!! Be sure to reach out for your Christmas parties!
And the party was a success! Happy Friday friends!